So day two sees just myself and Éanna at the cottage armed with chisels, hammers, a crowbar and a lot of excitement (and apprehension) as to what we will find.
First job was to remove all the carpets. They came up very easily as they were just sitting on the floor. They were fairly rotten in places due to damp from the concrete floors.
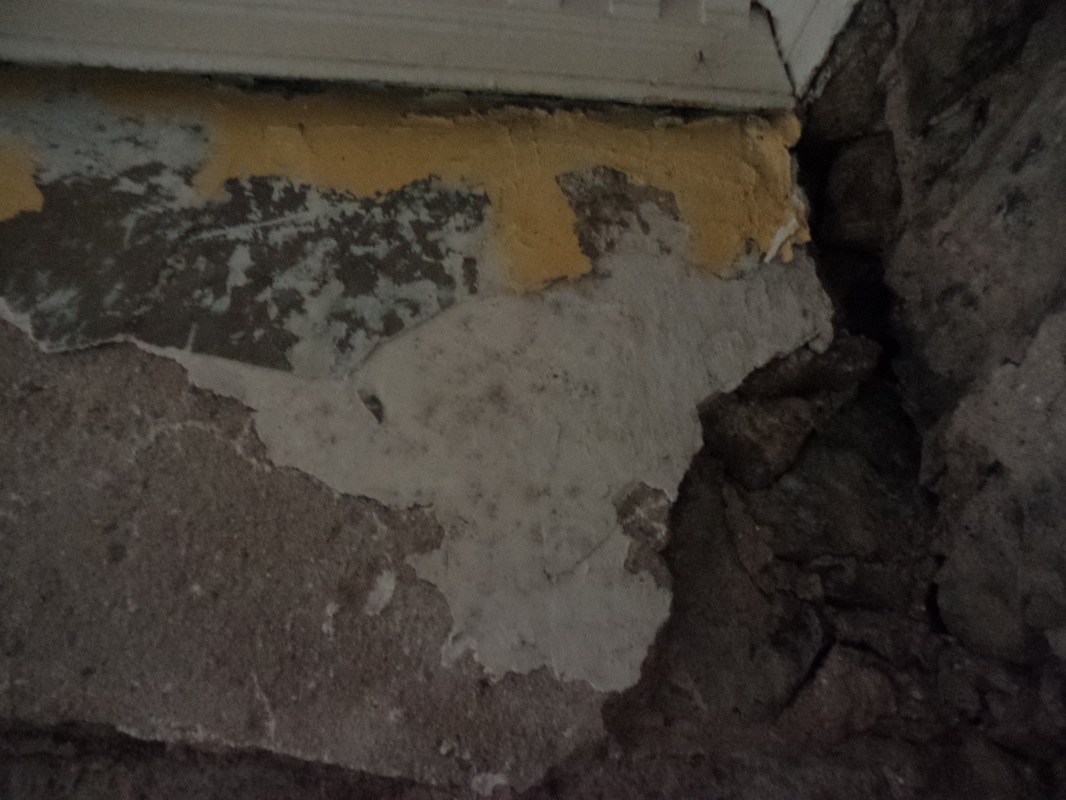
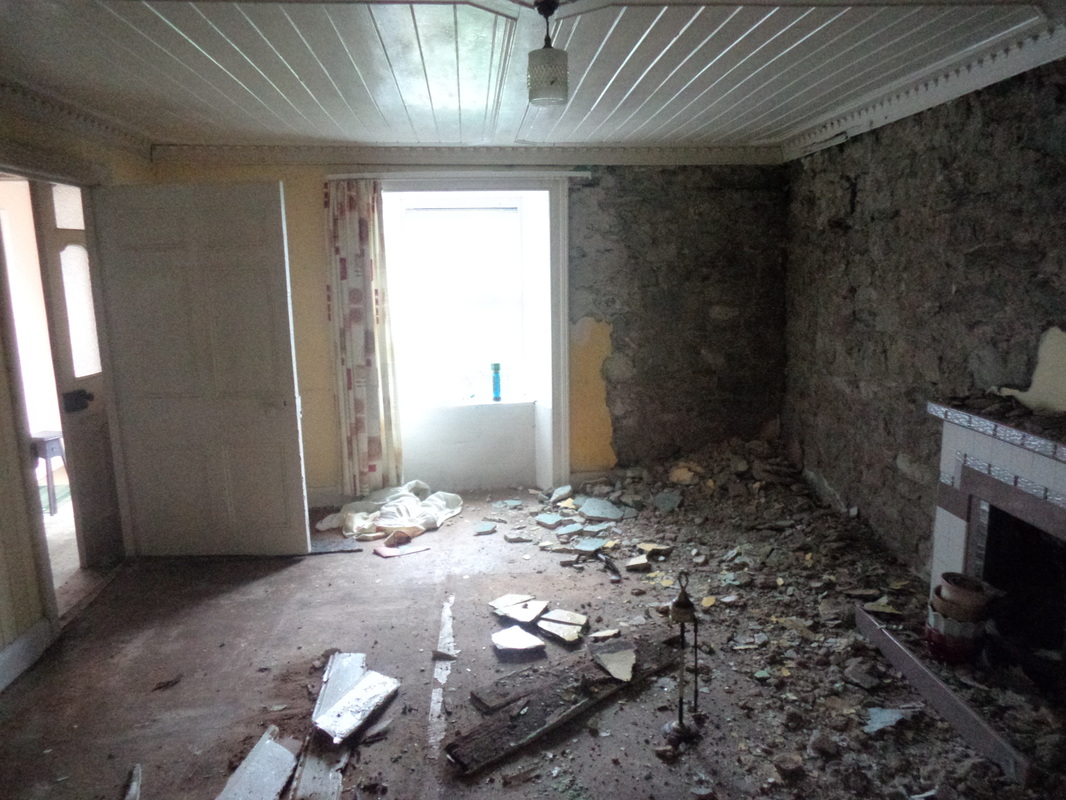
Concrete and cement: the natural enemies of the lime mortar wall! The concrete floor has sent the damp up the walls and the walls couldn't breath due to the concrete render on the outside and the many many layers of paint on the inside. We're hoping to rectify all this with breathable materials which I will write about when the time comes!
All this damp lead to our second job of the day: removing the paint and lime plaster in the parlour. Éanna left for 20 minutes to get us some lunch and this is what he returned to.....I just couldn't resist!
First job was to remove all the carpets. They came up very easily as they were just sitting on the floor. They were fairly rotten in places due to damp from the concrete floors.
Concrete and cement: the natural enemies of the lime mortar wall! The concrete floor has sent the damp up the walls and the walls couldn't breath due to the concrete render on the outside and the many many layers of paint on the inside. We're hoping to rectify all this with breathable materials which I will write about when the time comes!
All this damp lead to our second job of the day: removing the paint and lime plaster in the parlour. Éanna left for 20 minutes to get us some lunch and this is what he returned to.....I just couldn't resist!
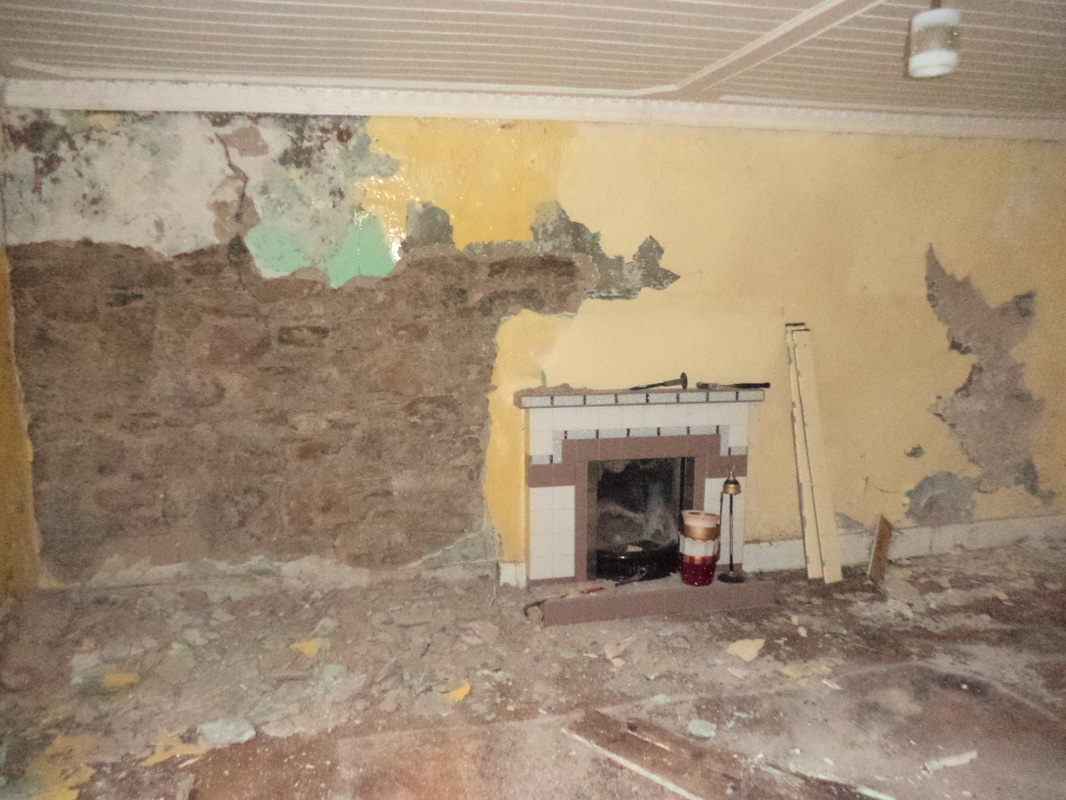
I was very pleased with myself and felt like I had earned my lunch!
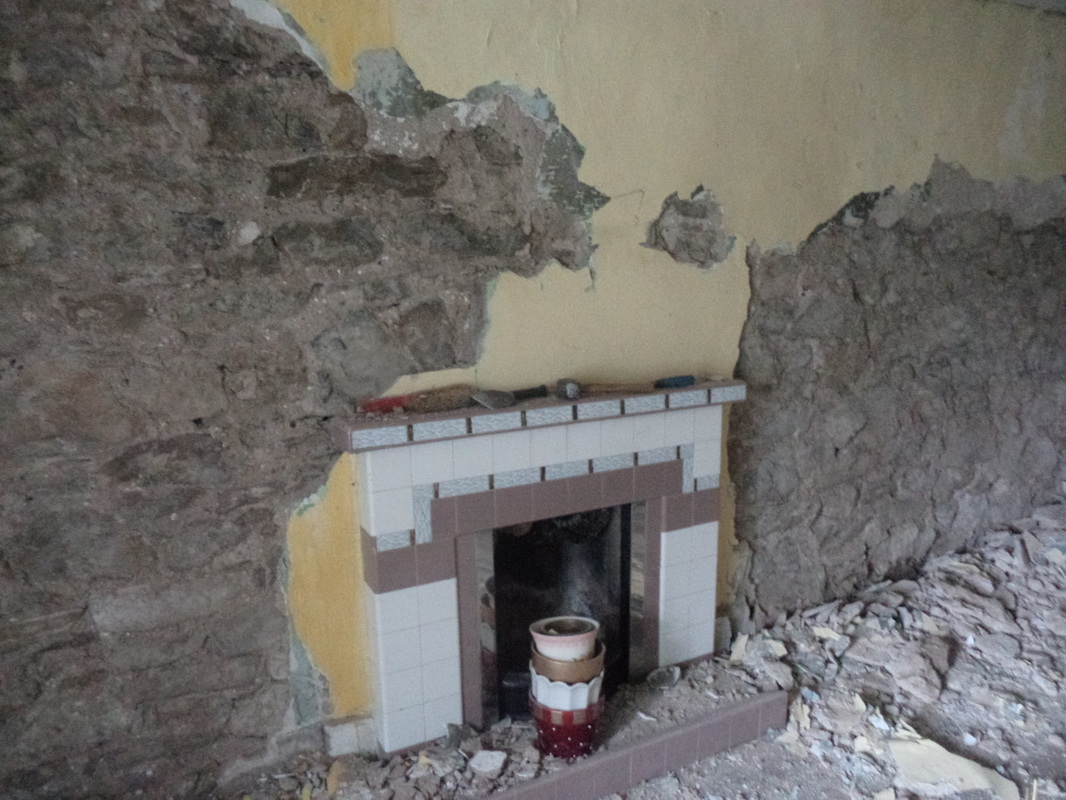
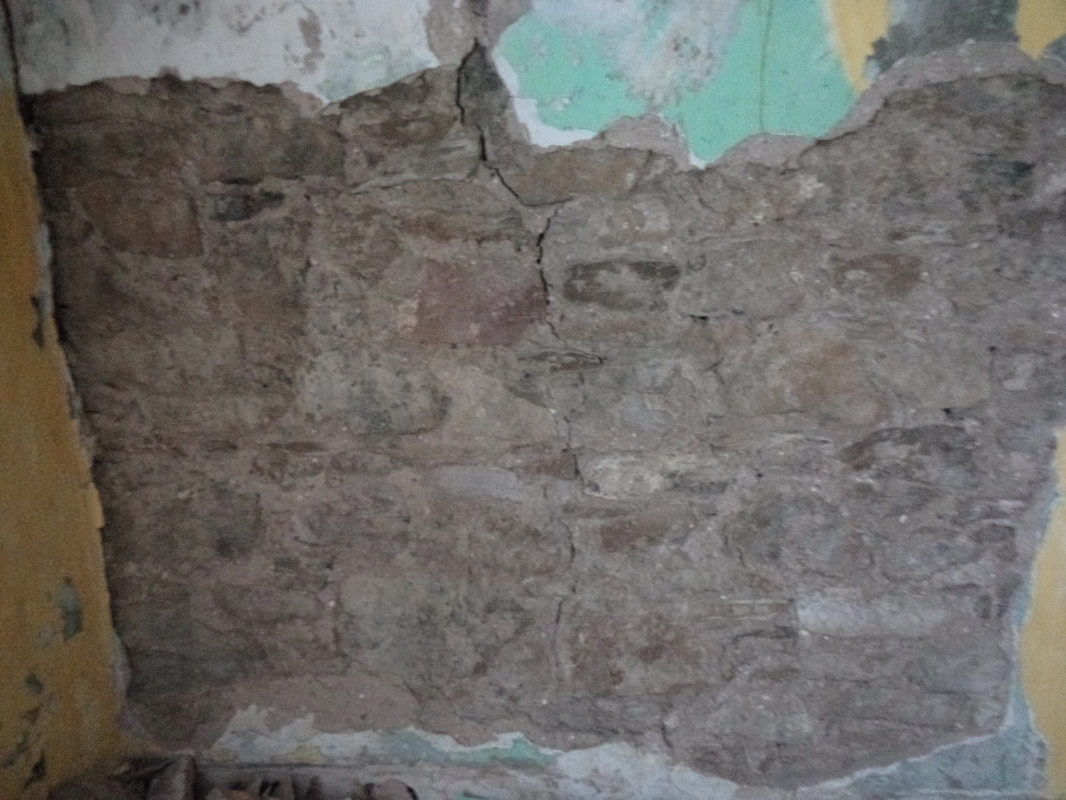
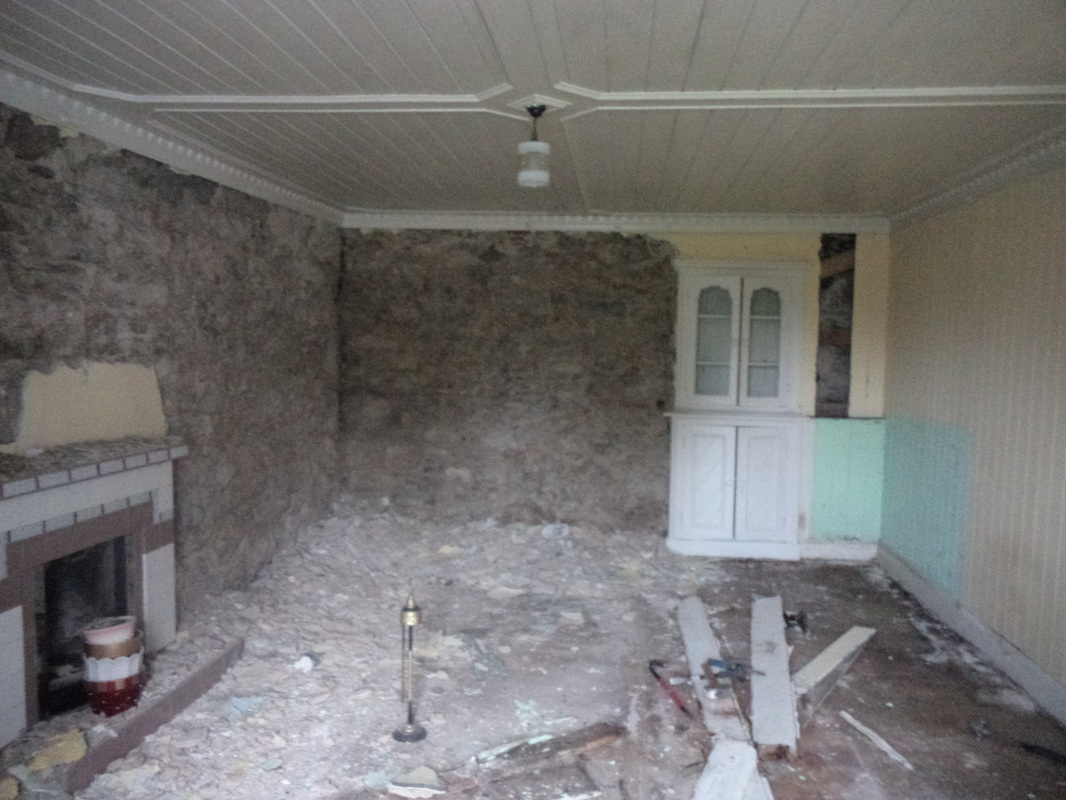
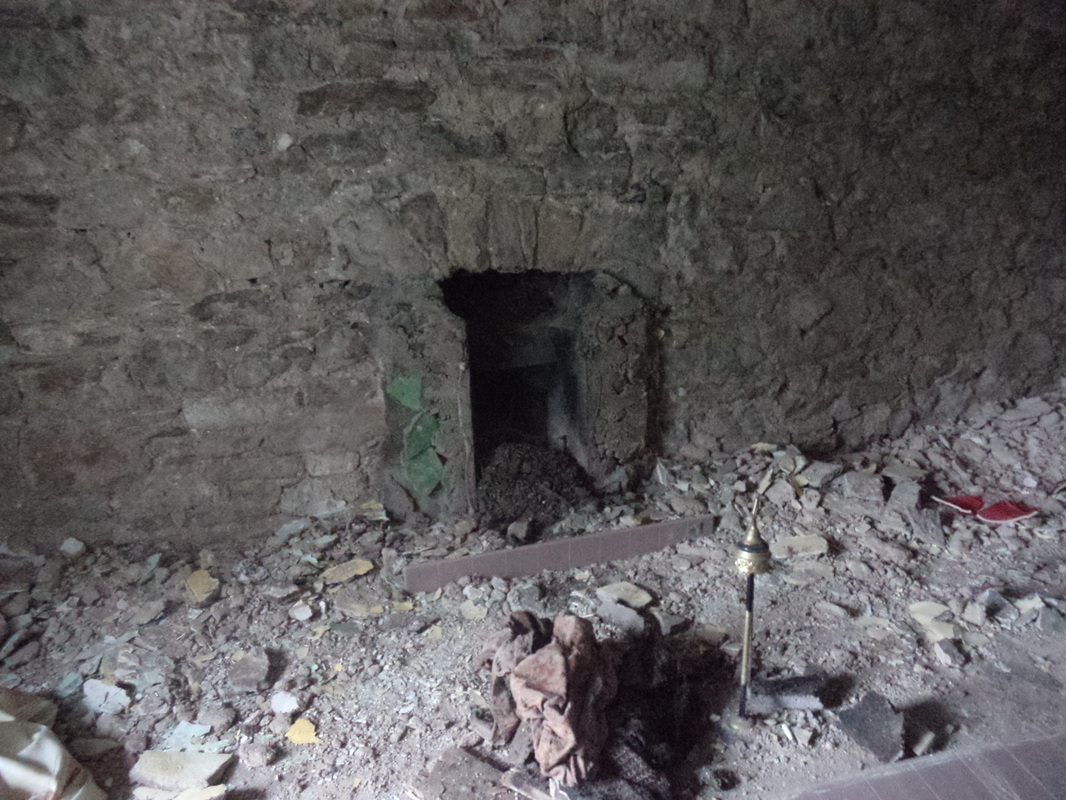
As it turns out removing relatively loose lime plaster is extremely satisfying. I had read up on the process and they advised keeping the chisel at a shallow angle to the wall and go gently so as not to damage pointing or the brick/stone. I followed this advise for a while until we realised the stonework didn't really warrant our delicate touch! Lets just say is was meant to be plastered over! If you had looked through the window later on you would have seen us banging with hammers and lifting it off with a crowbar!
We went on the strip the three plastered walls and remove the baseboards and window surround.
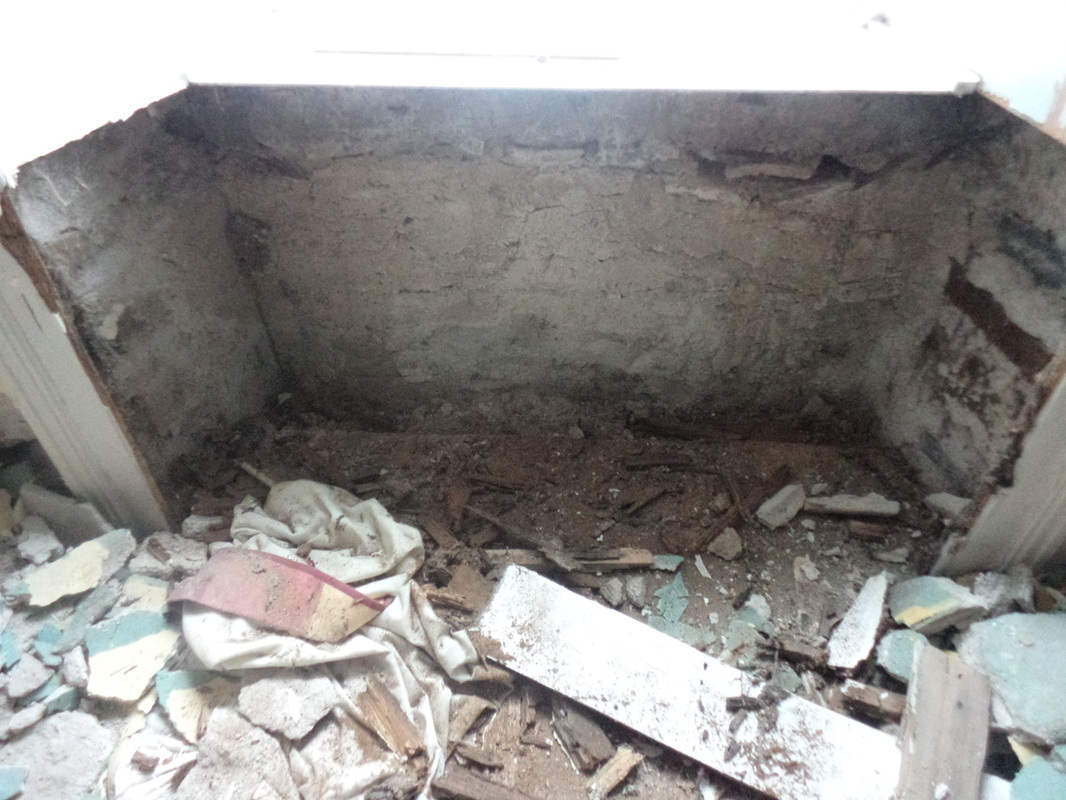
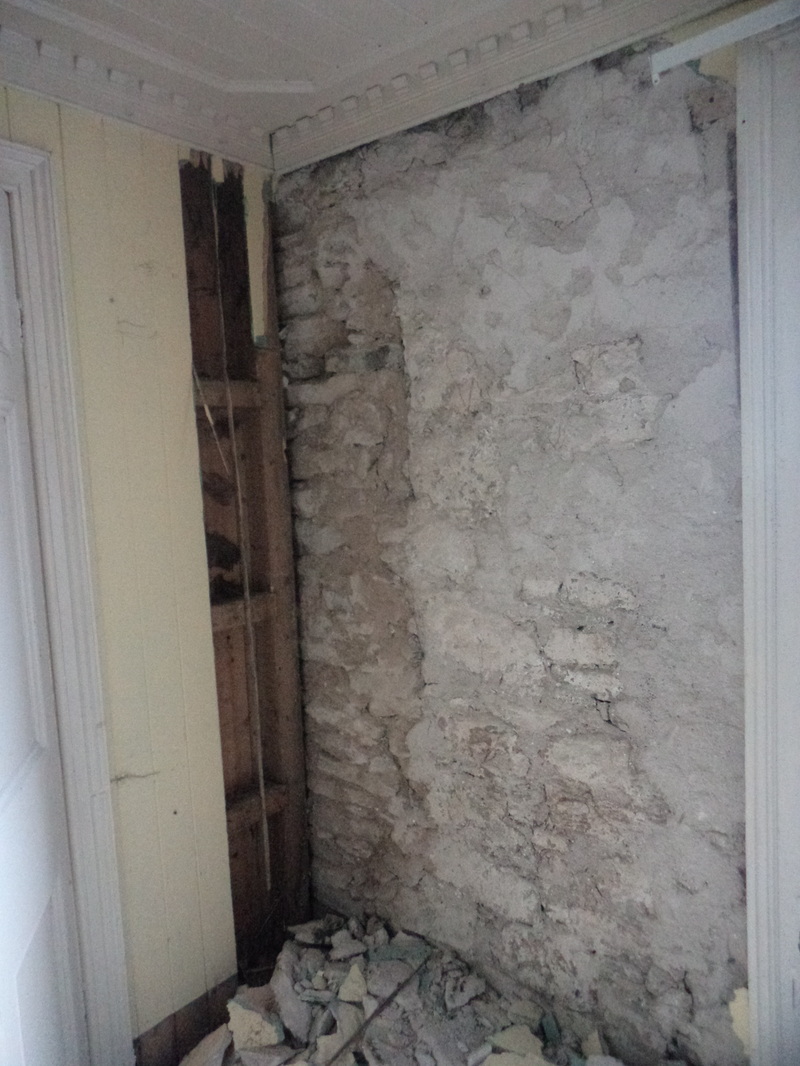
we found an area behind the door, to the left of the window that looks like a blocked up doorway but it would be alongside the current doorway so we're not sure exactly what way it was originally.
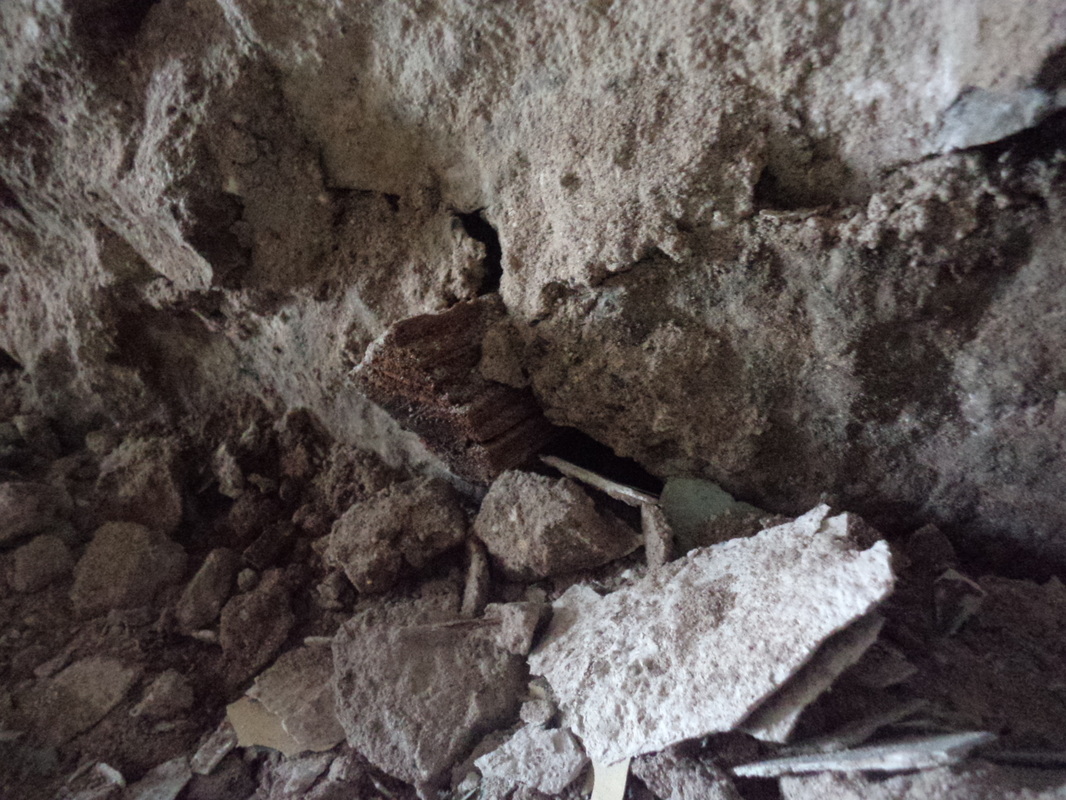
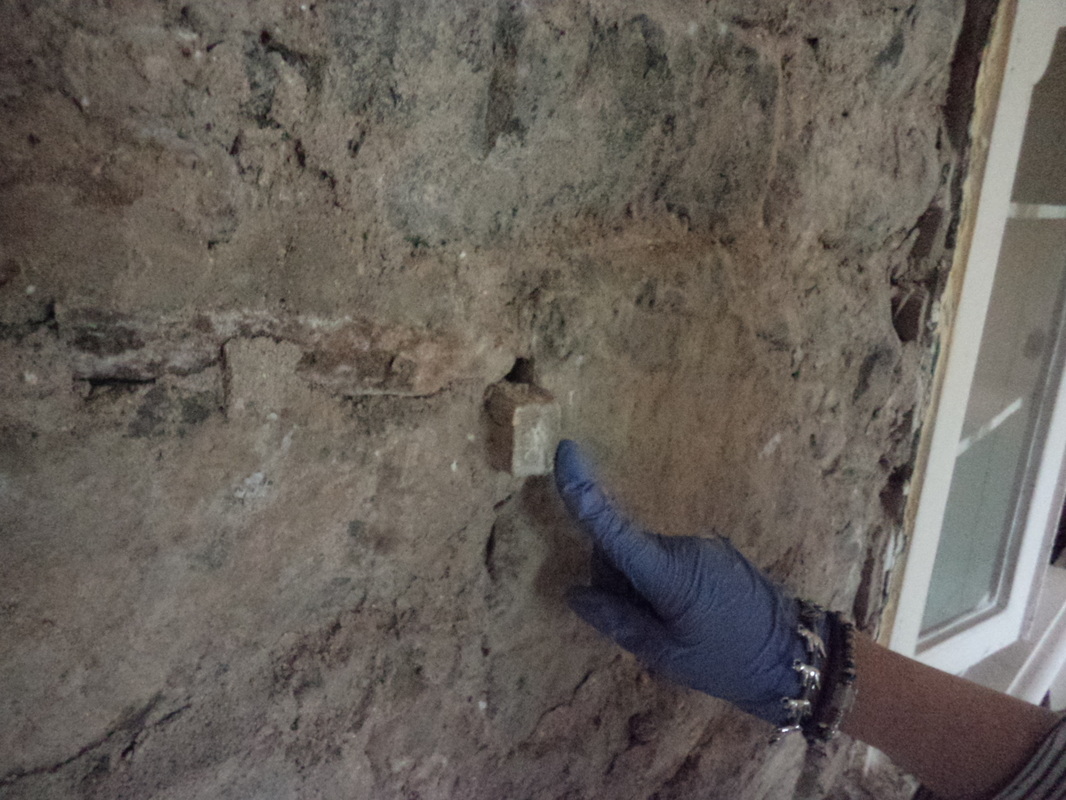
we found some timber pegs in various places in the walls. One of which Éanna reckons might have been used as a depth gauge for the plaster.
As it turns out removing relatively loose lime plaster is extremely satisfying. I had read up on the process and they advised keeping the chisel at a shallow angle to the wall and go gently so as not to damage pointing or the brick/stone. I followed this advise for a while until we realised the stonework didn't really warrant our delicate touch! Lets just say is was meant to be plastered over! If you had looked through the window later on you would have seen us banging with hammers and lifting it off with a crowbar!
We went on the strip the three plastered walls and remove the baseboards and window surround.
we found an area behind the door, to the left of the window that looks like a blocked up doorway but it would be alongside the current doorway so we're not sure exactly what way it was originally.
we found some timber pegs in various places in the walls. One of which Éanna reckons might have been used as a depth gauge for the plaster.
 RSS Feed
