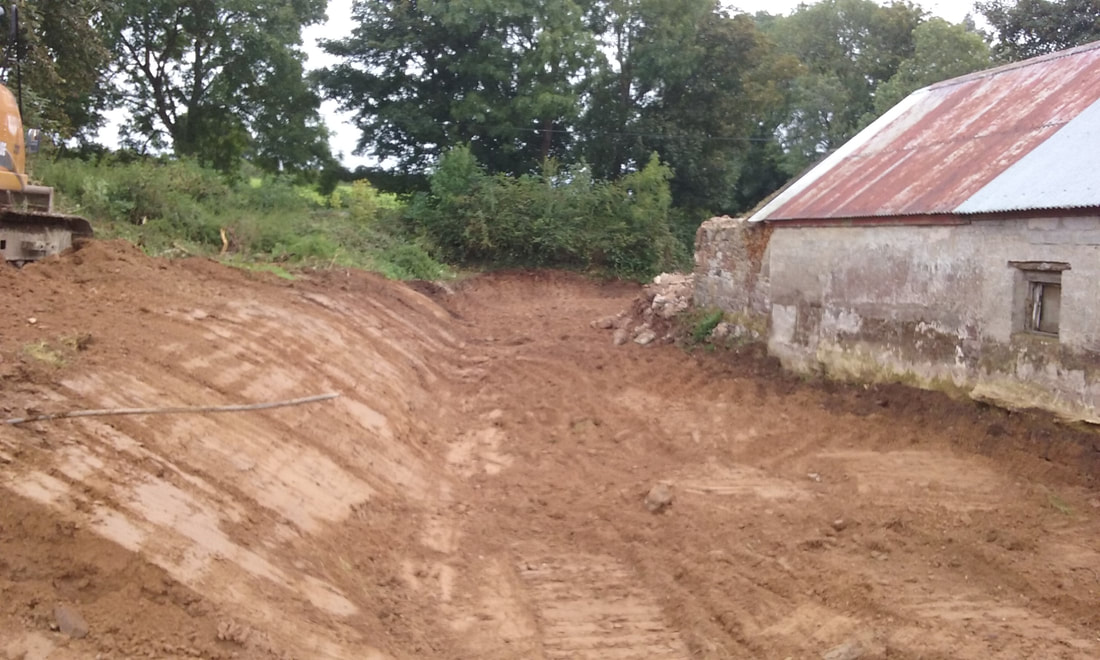
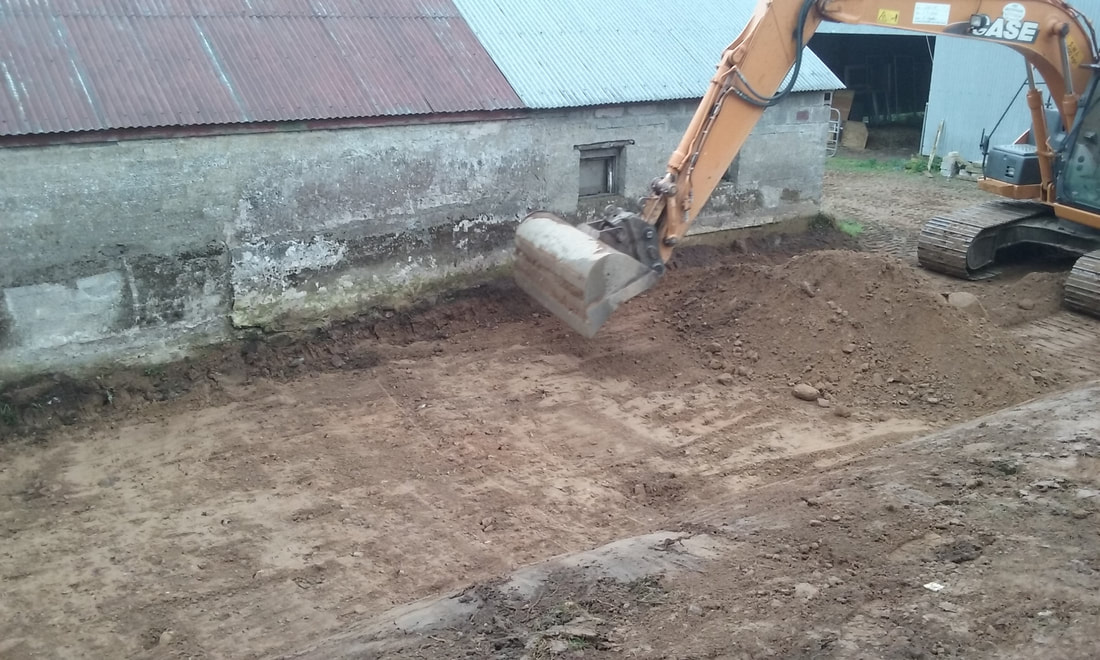
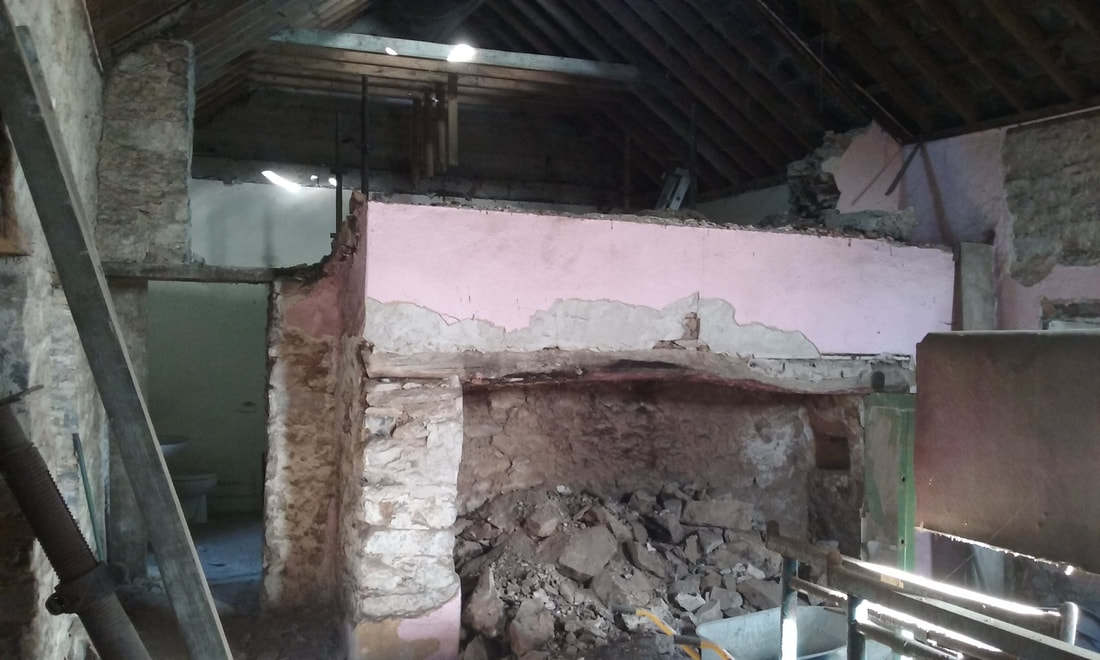
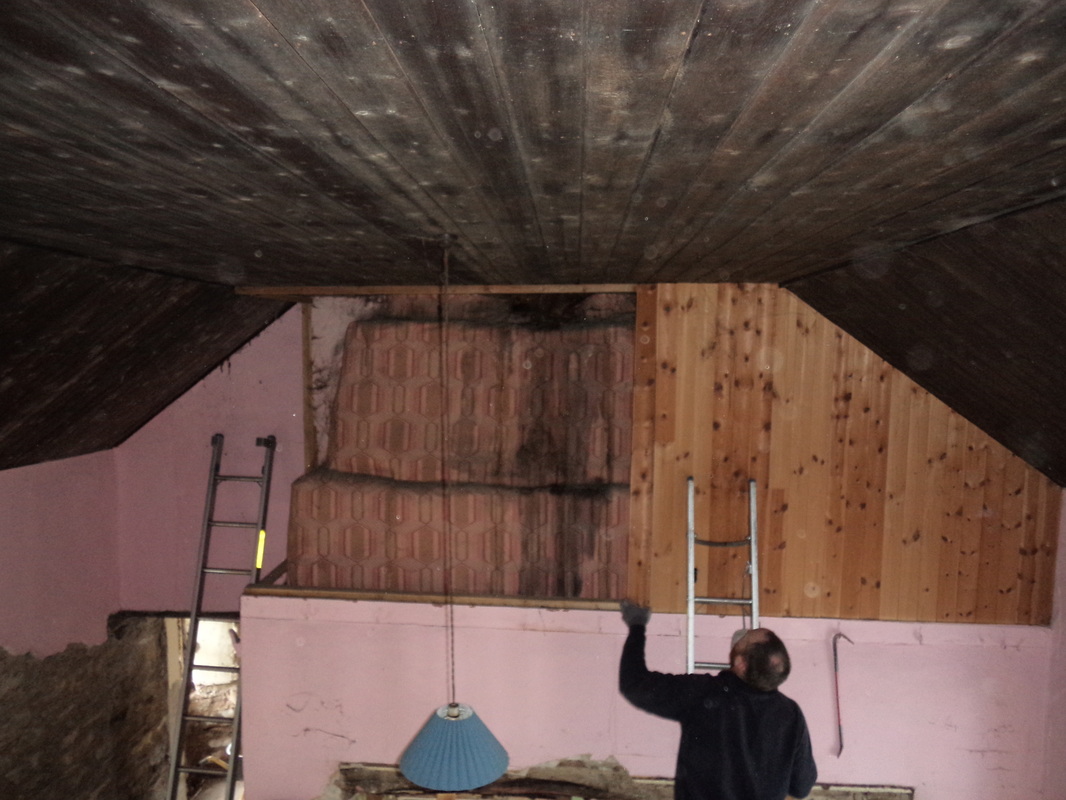
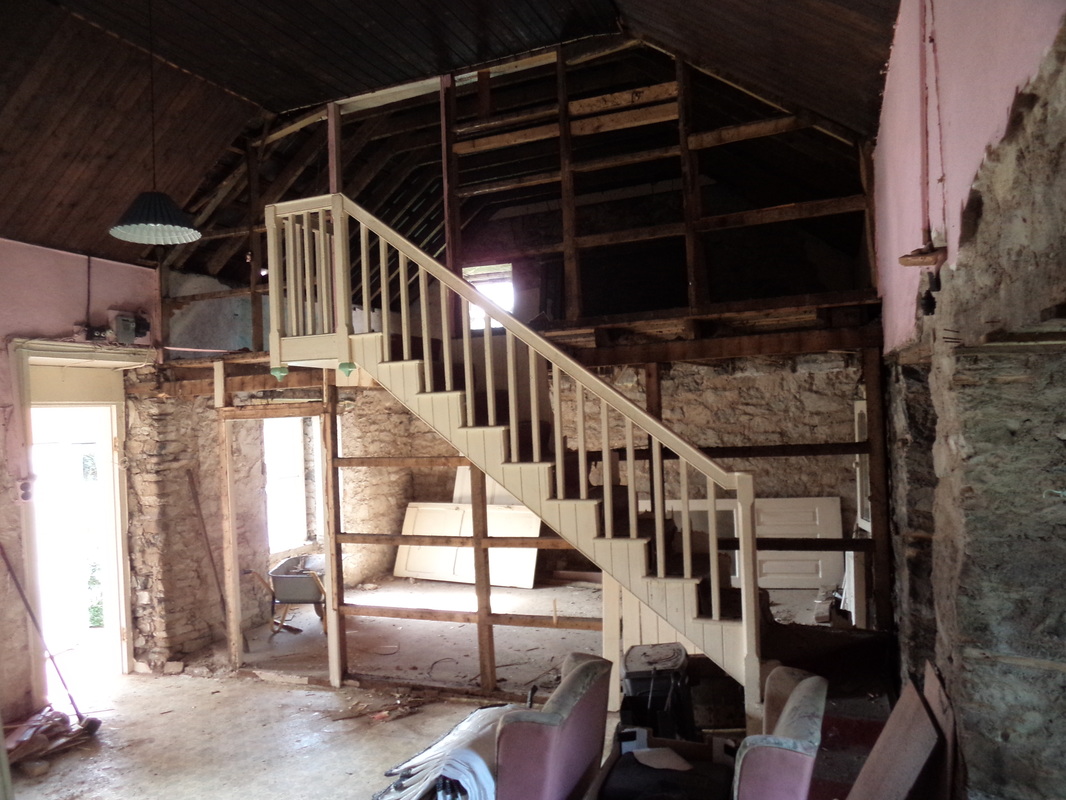
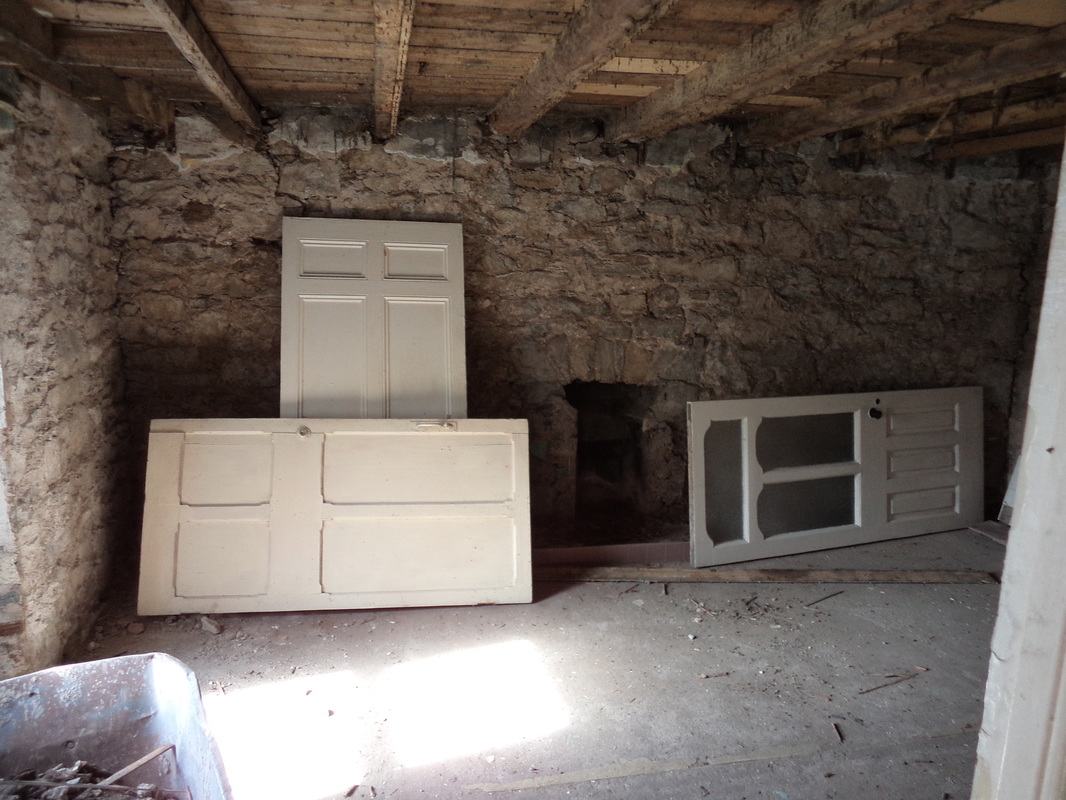
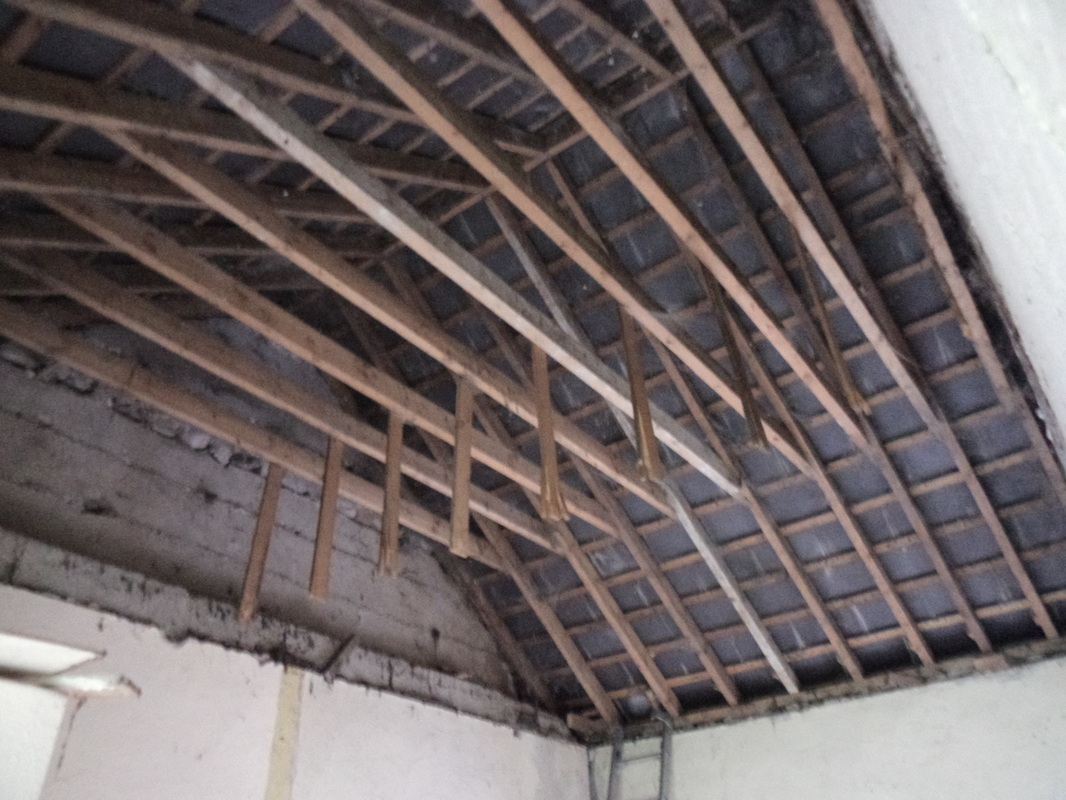
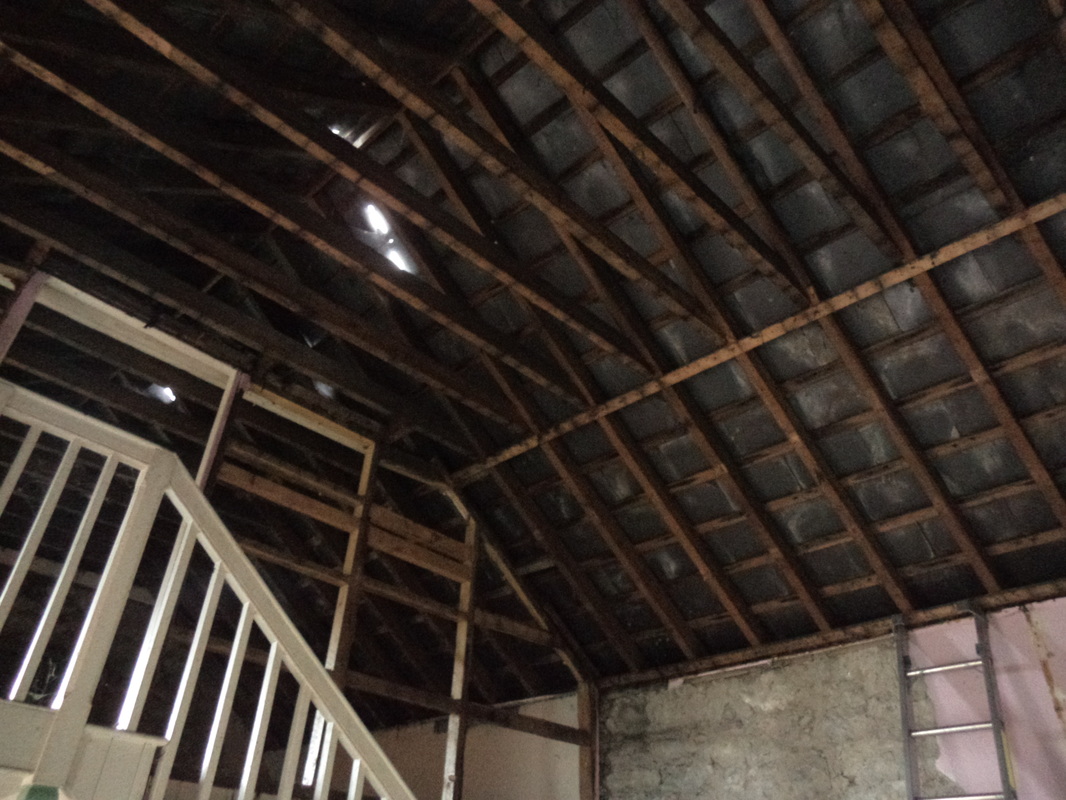
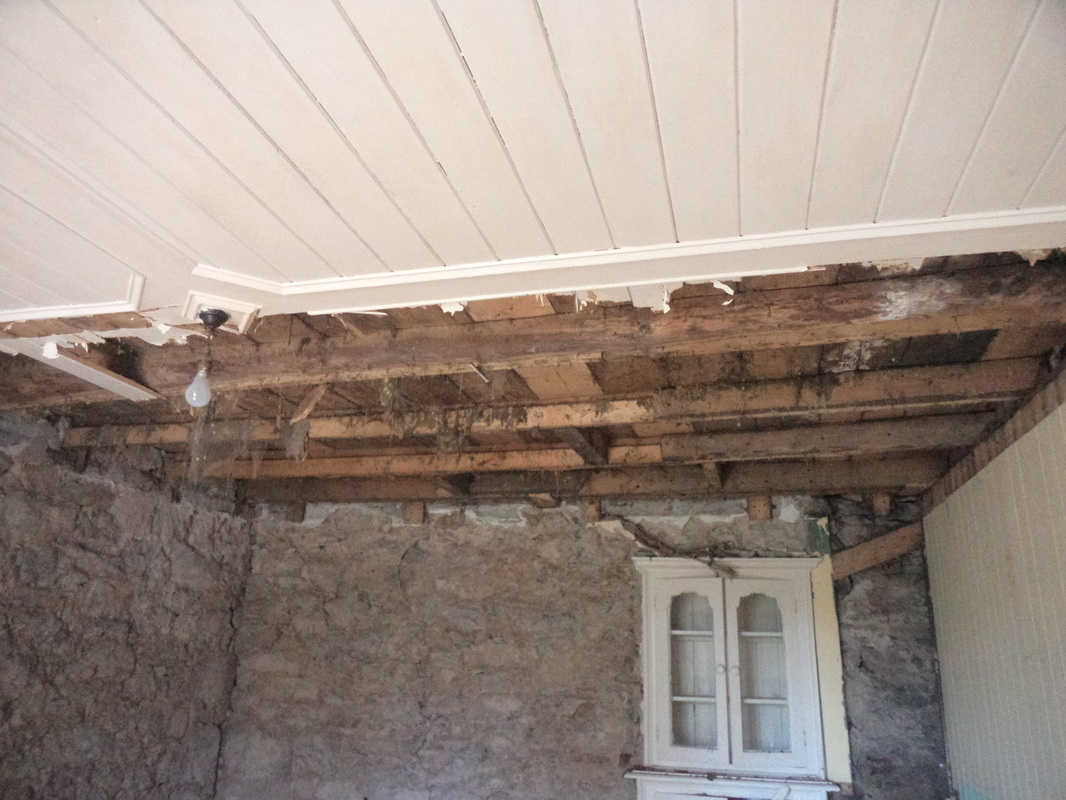
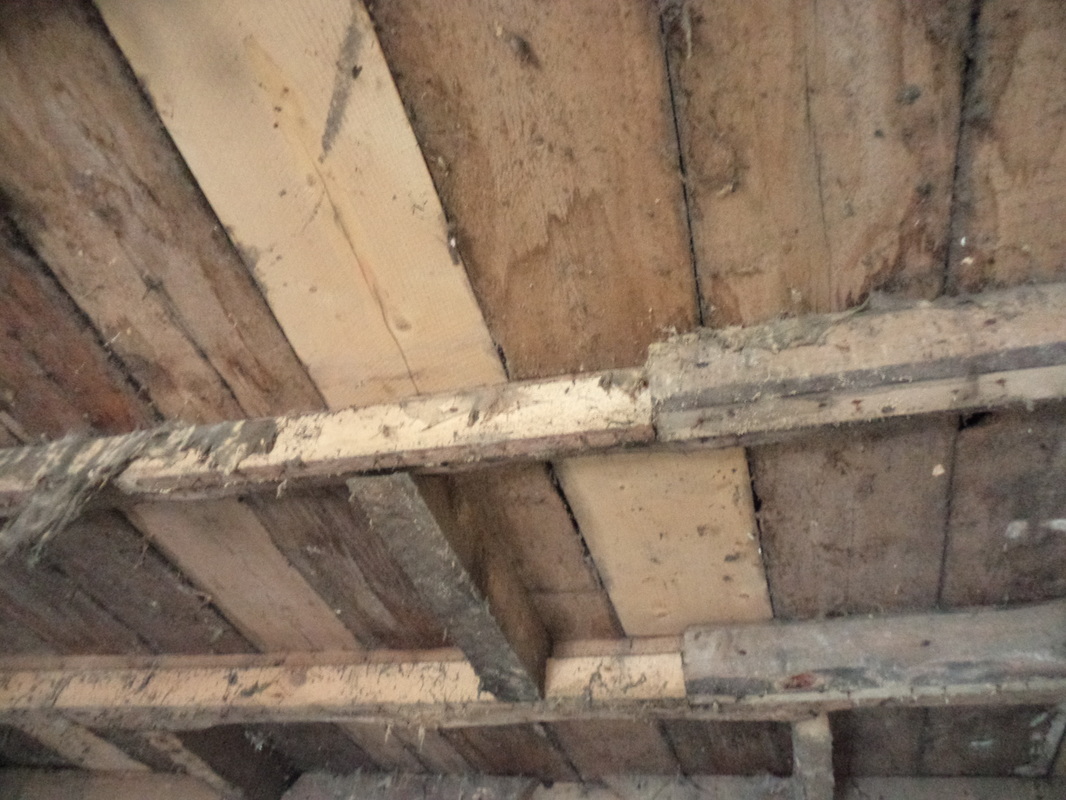
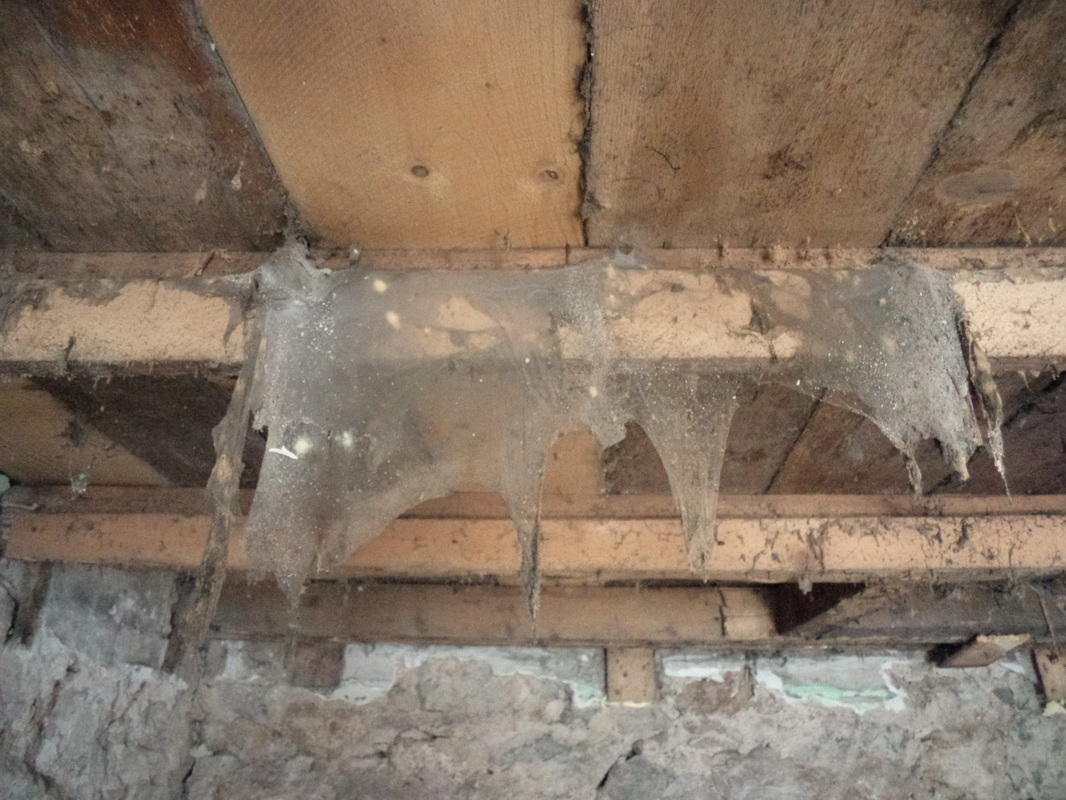
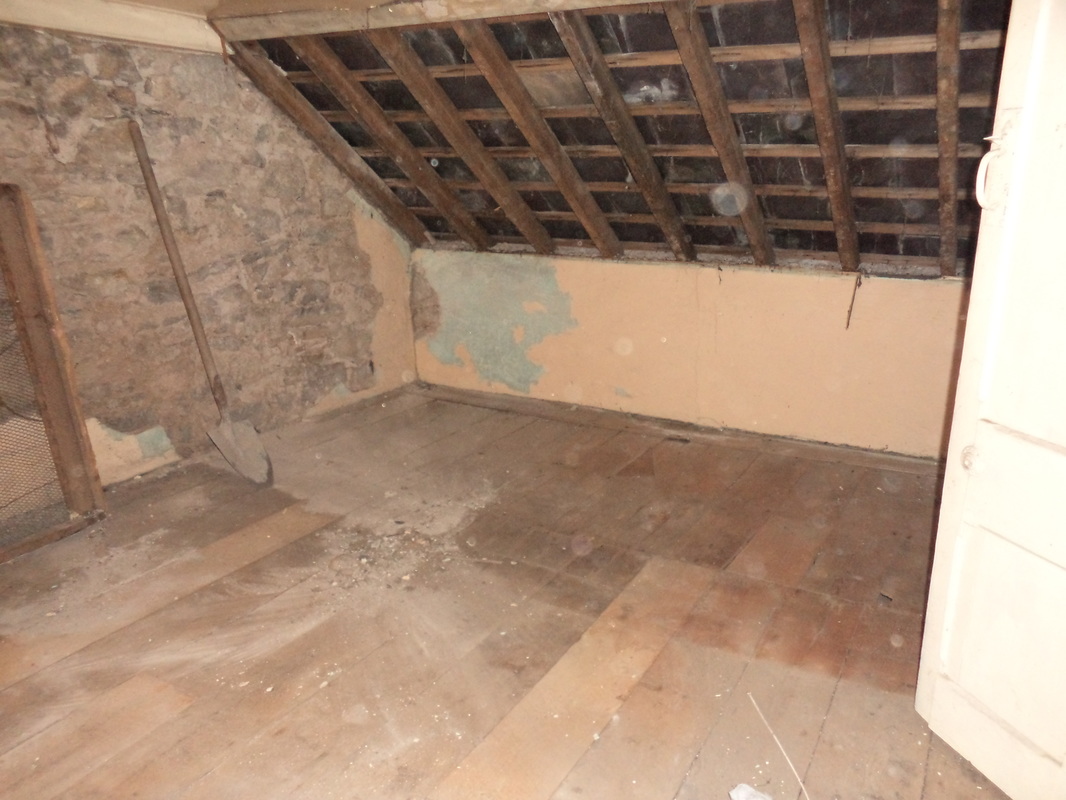
With extra space and a level site at the back of the cottage it was time to erect some scaffolding before tackling the roof. It was clear from inspecting the roof timbers from underneath when we got the ceilings down etc that a lot of the roof timbers needed replacing or the whole roof needed replacing.
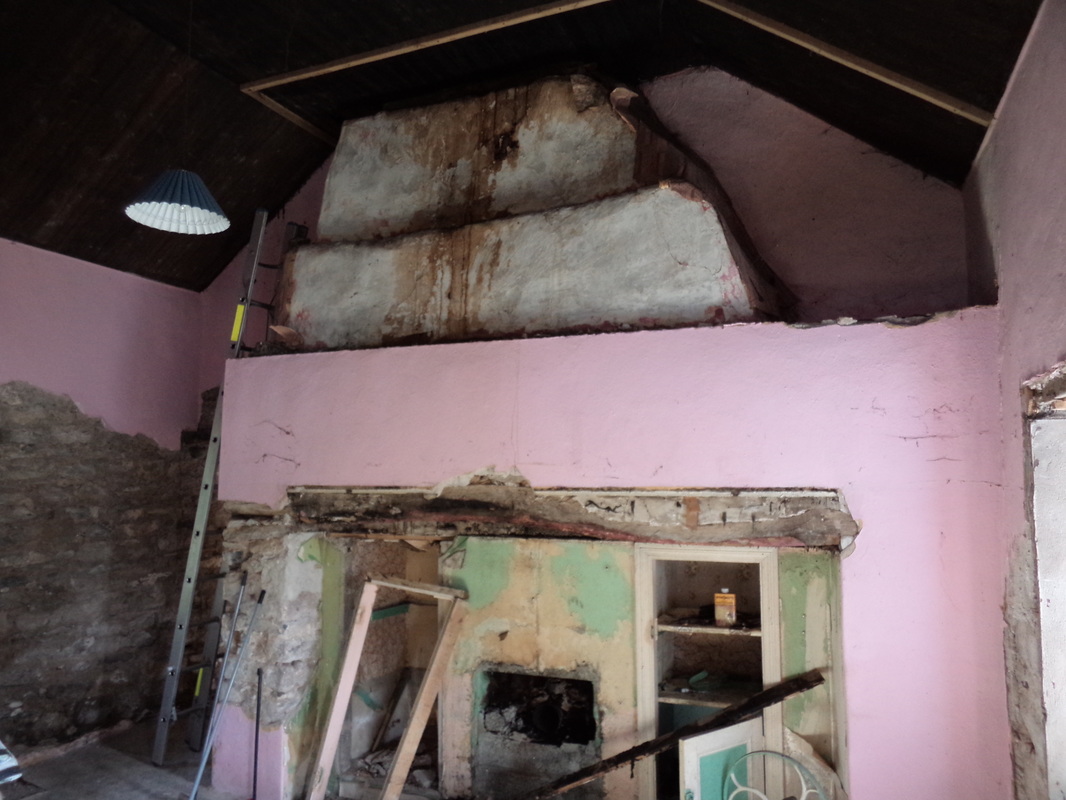
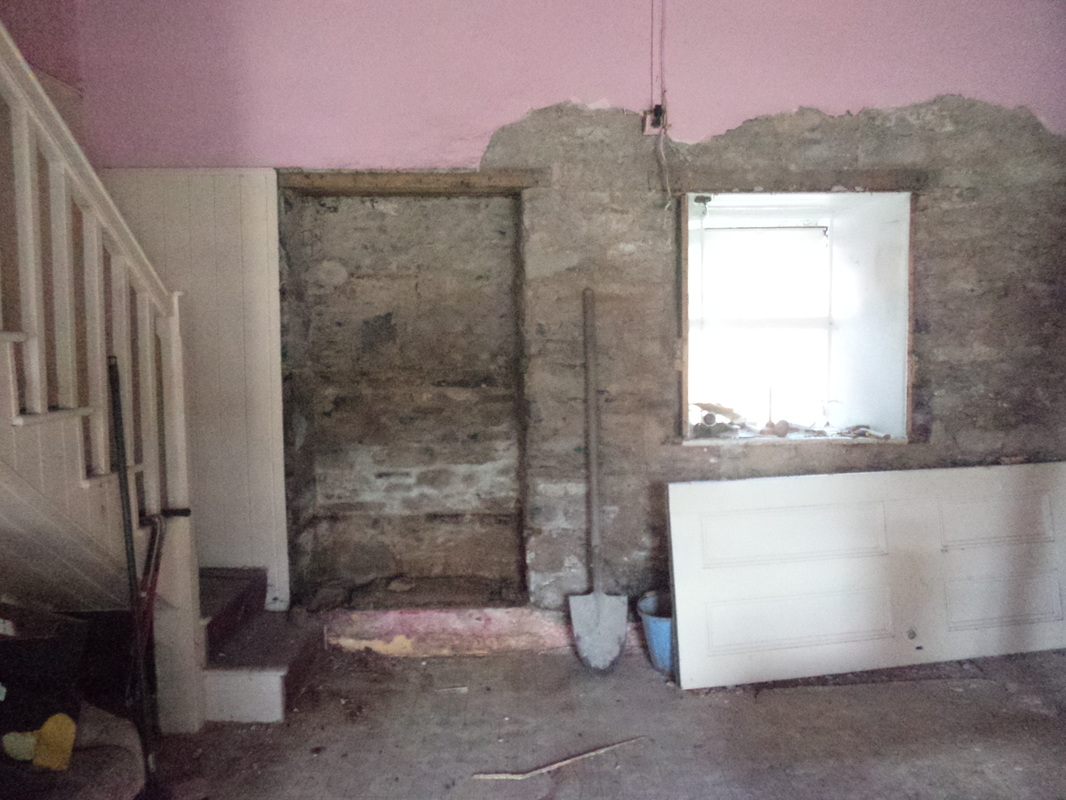
We decided it was best to reroof the whole lot and be done with it, no point having to revisit it in ten or twenty years. We were hoping to save as much slate as possible and maybe at least redo one side of the roof with the reclaimed slate. We'll see when the time comes before making that decision. There will also be alot of repair work needed over the upstairs window,the top of the walls/wallplate and the gable ends.
We decided it was best to reroof the whole lot and be done with it, no point having to revisit it in ten or twenty years. We were hoping to save as much slate as possible and maybe at least redo one side of the roof with the reclaimed slate. We'll see when the time comes before making that decision. There will also be alot of repair work needed over the upstairs window,the top of the walls/wallplate and the gable ends.
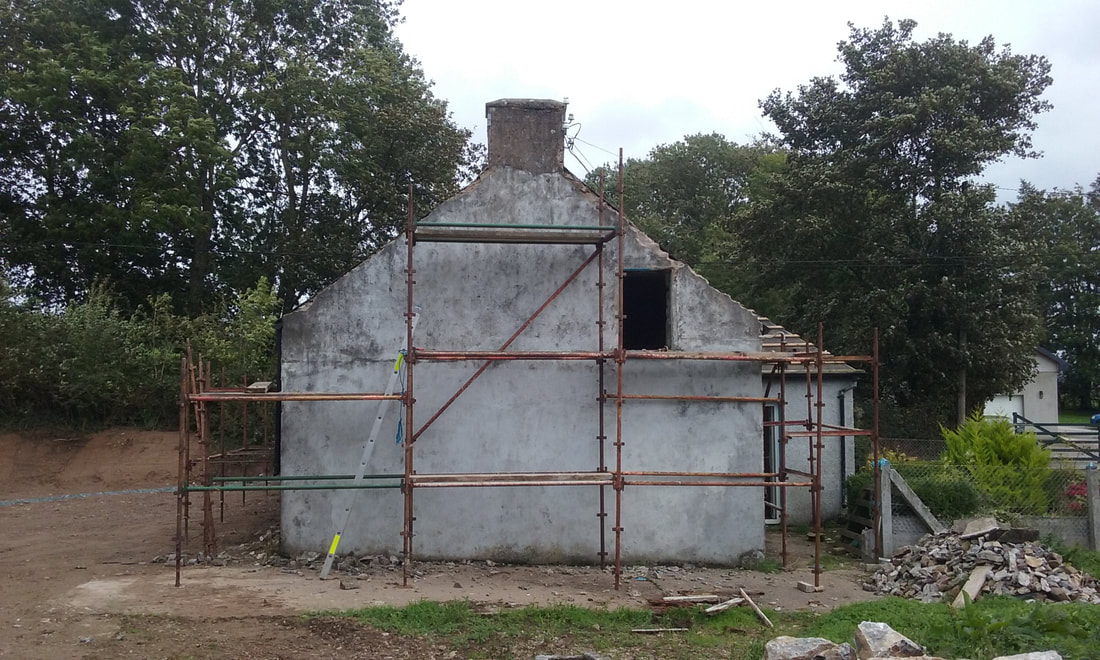
Fig.1 Scaffolding up, it's always handy to have an extra pair of hands when starting off. Though once you get one bay up its easy enough to add to it.
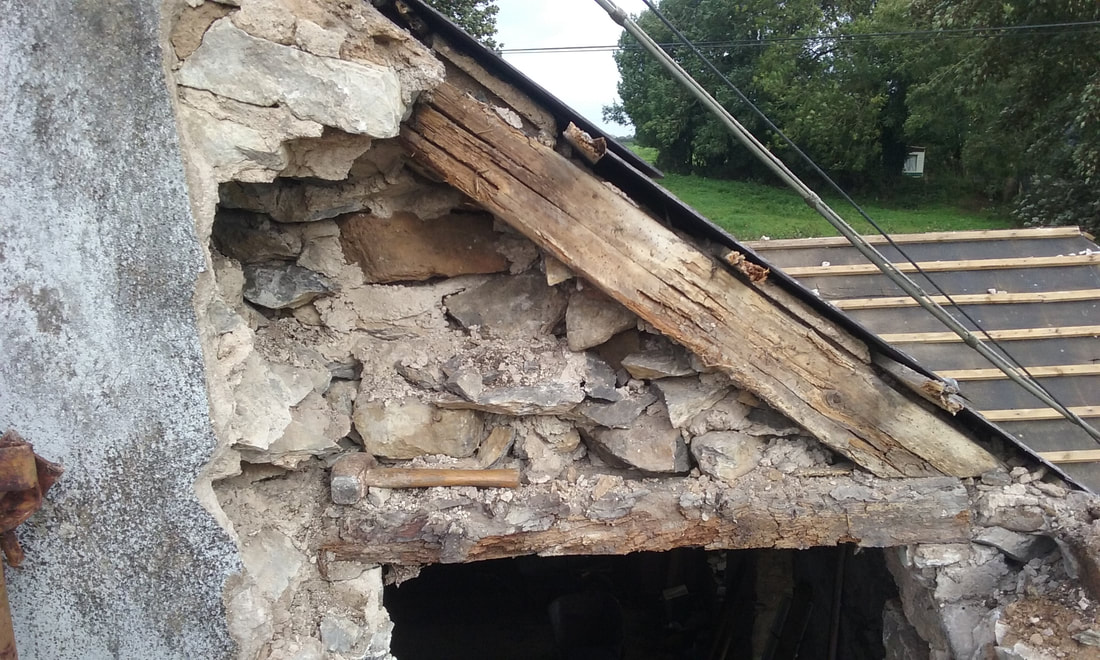
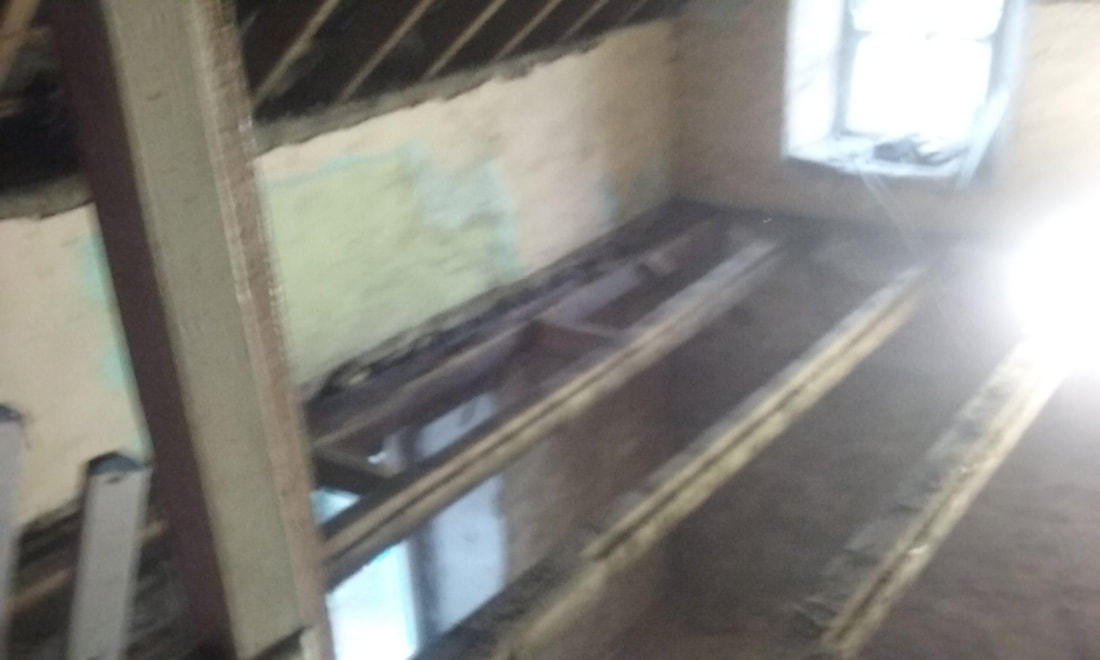
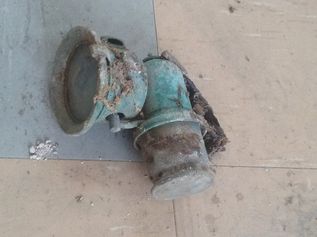
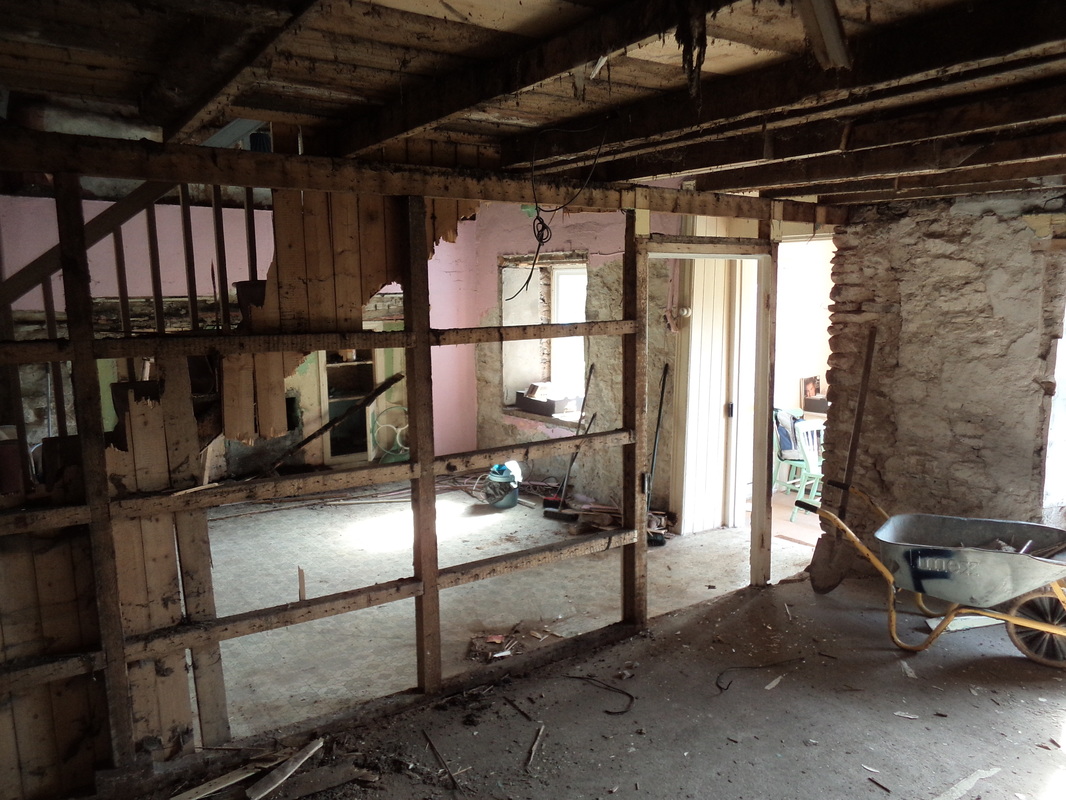
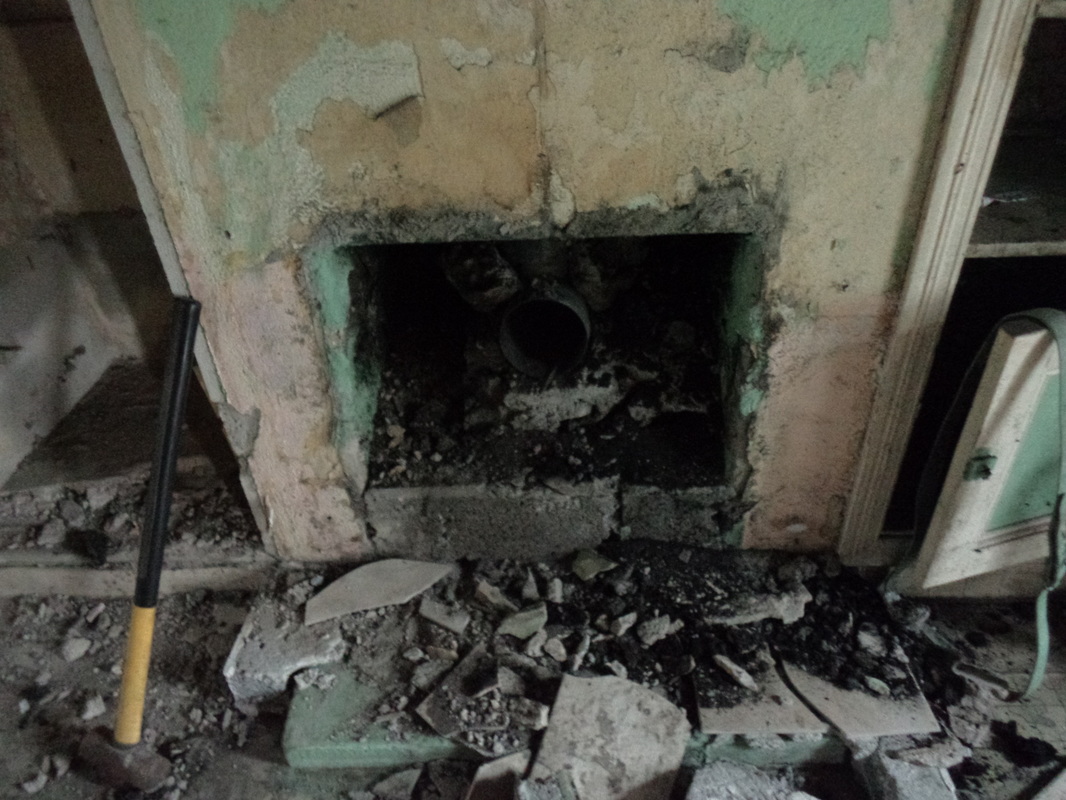
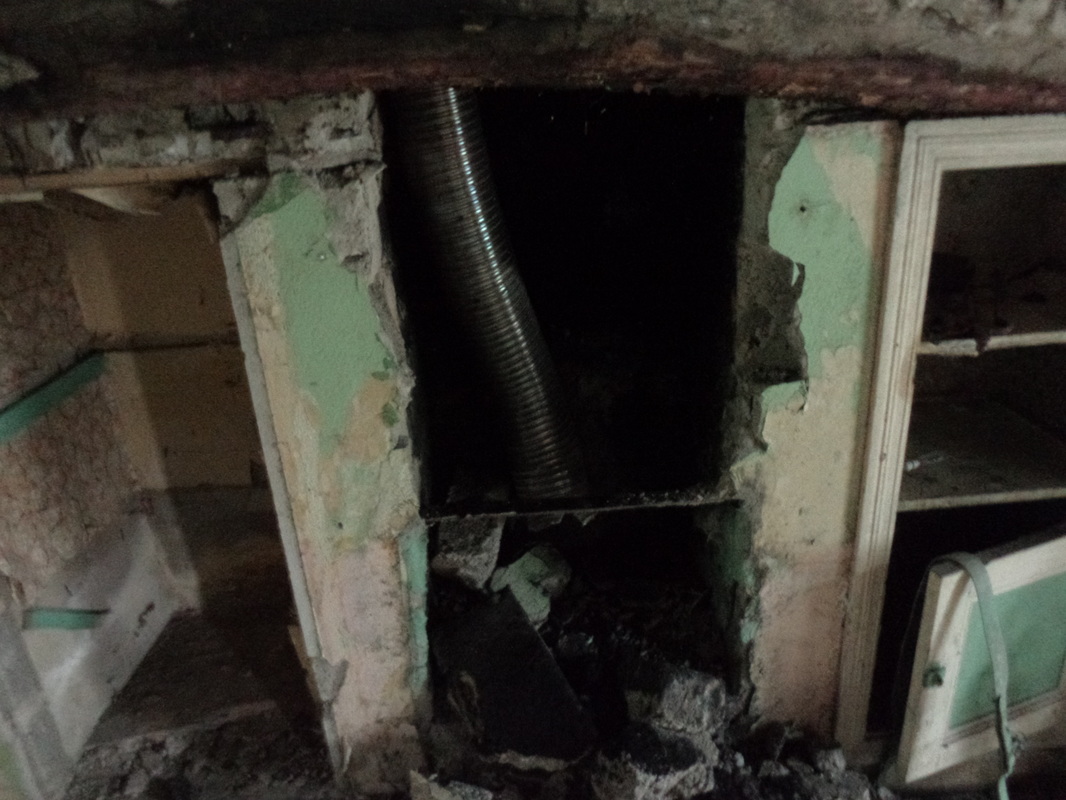
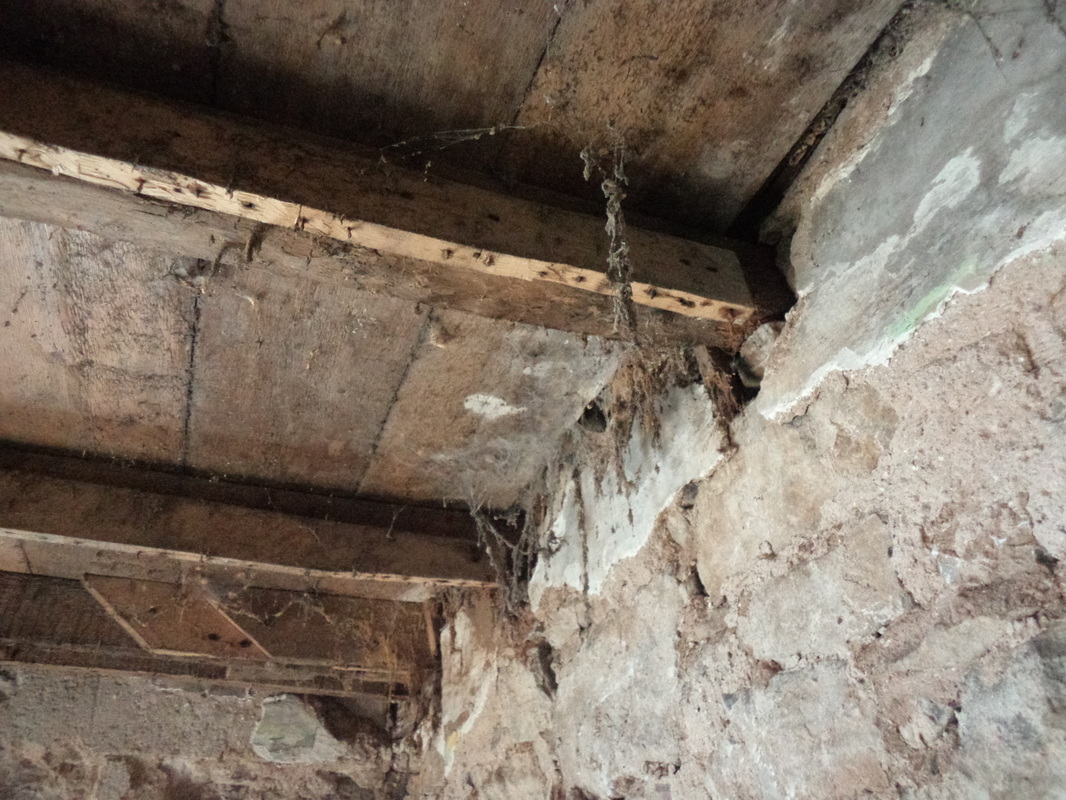
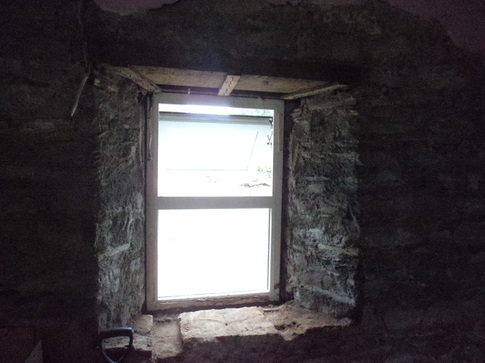
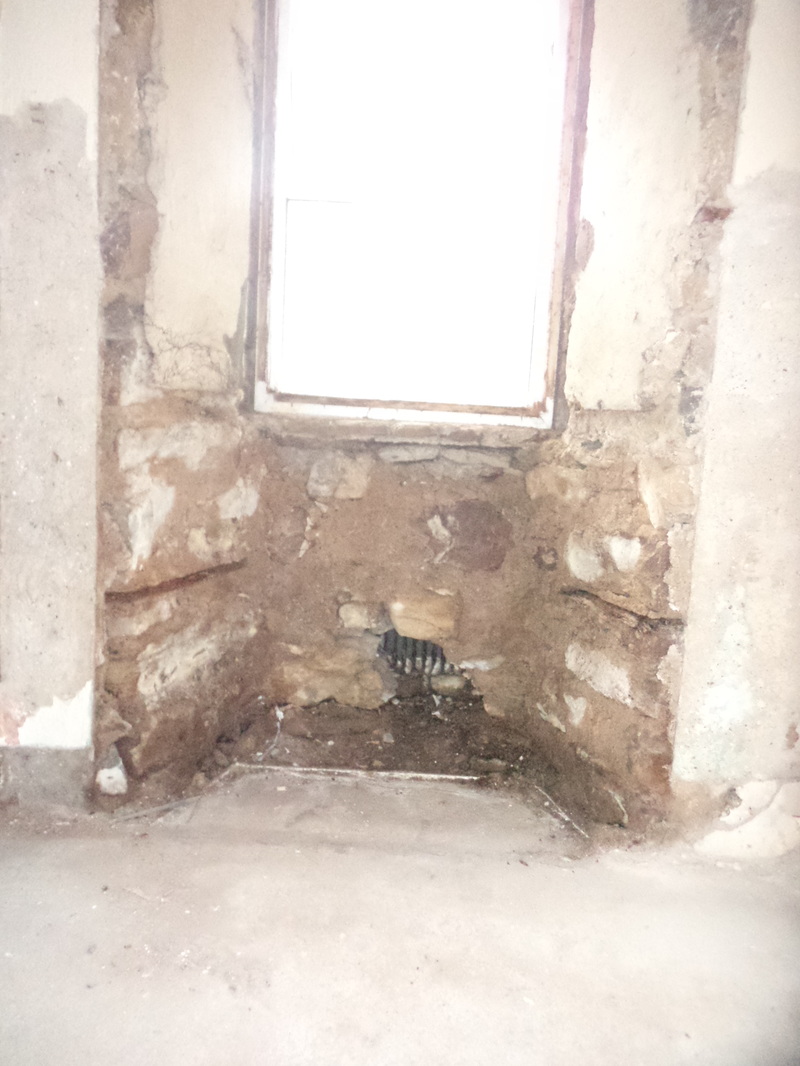
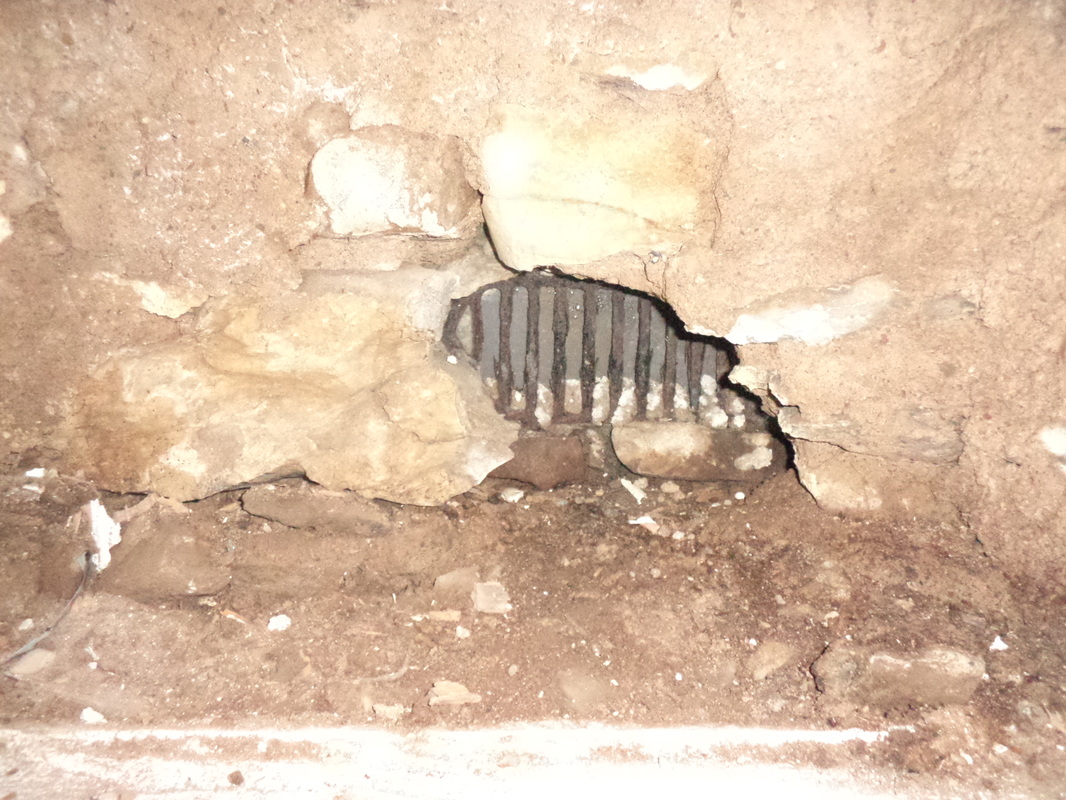
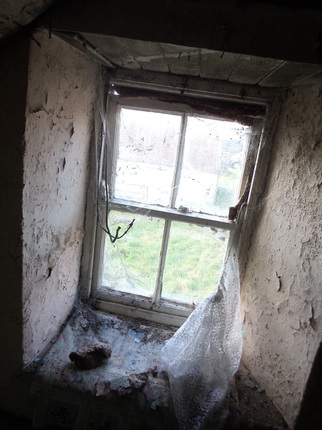
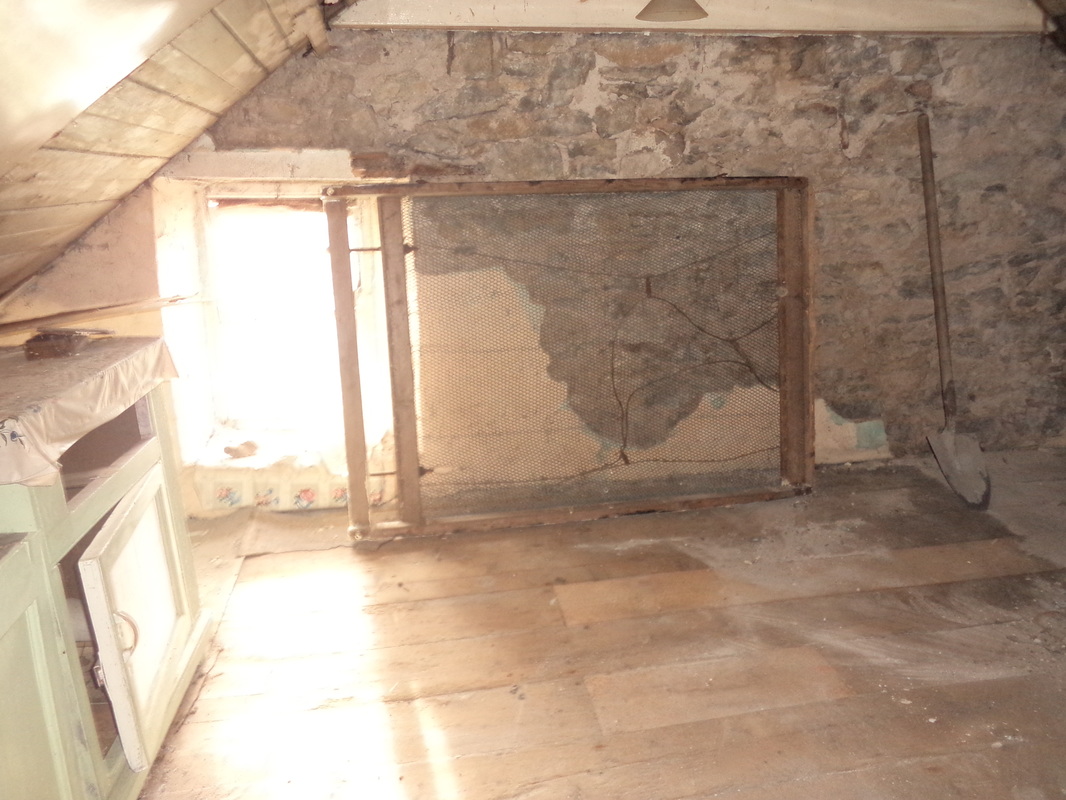
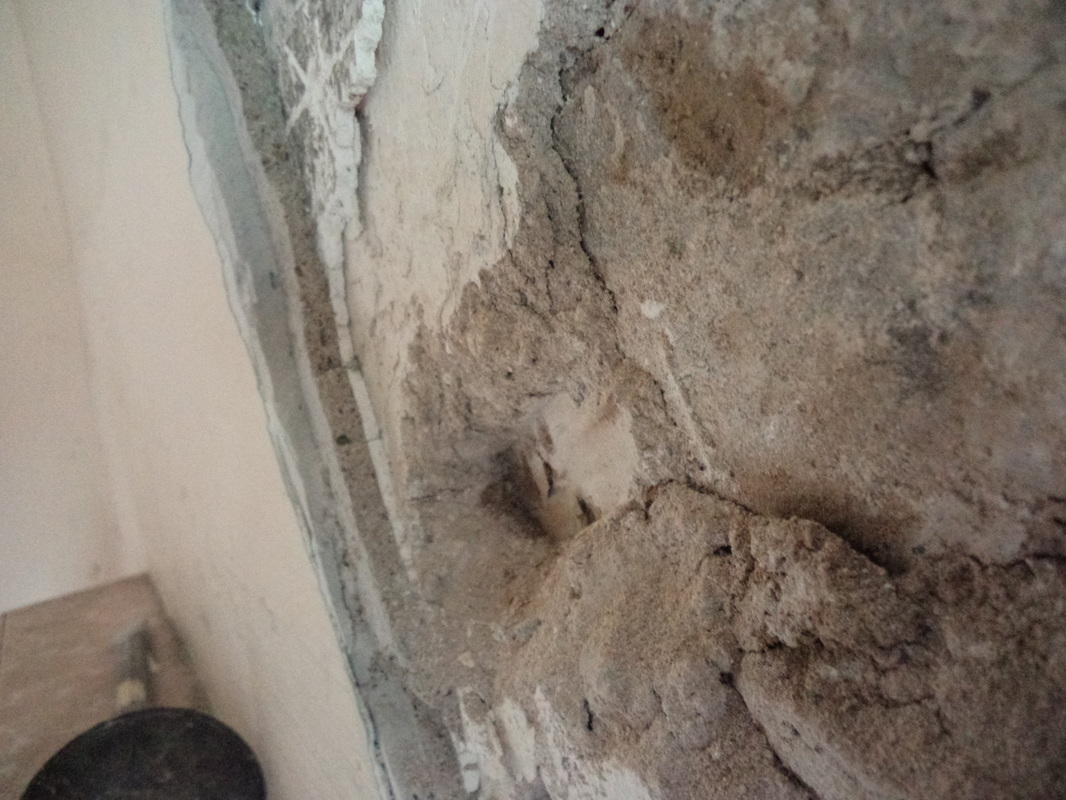
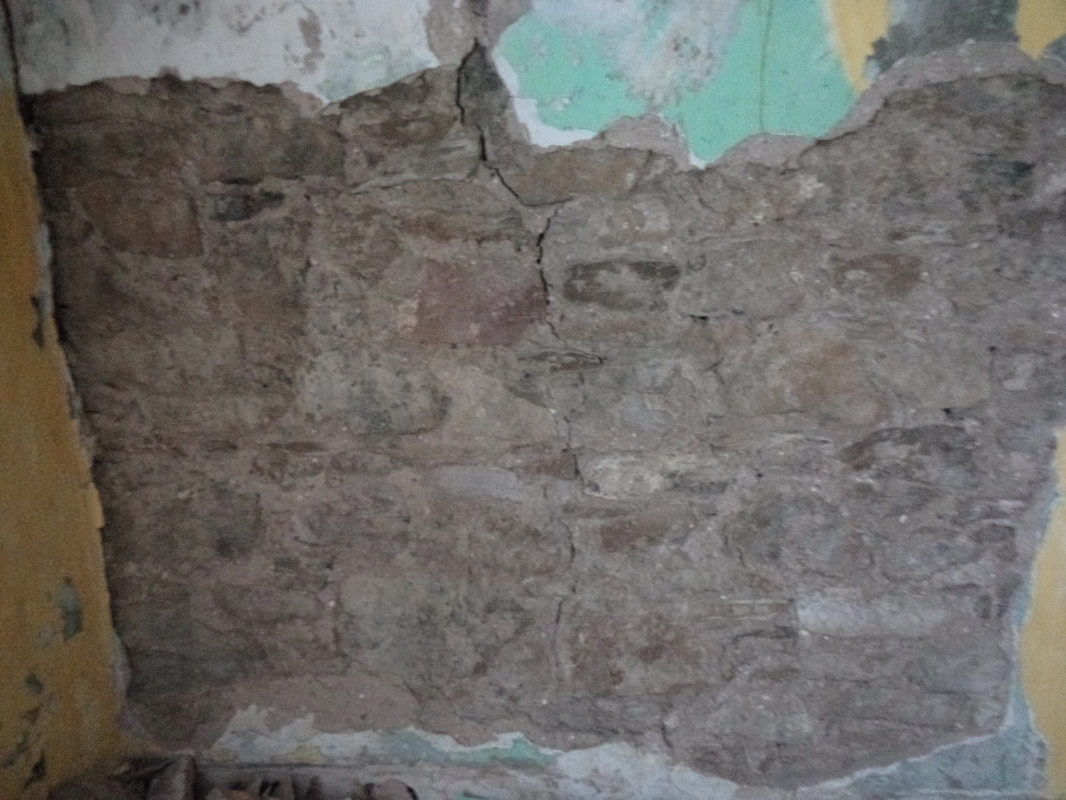
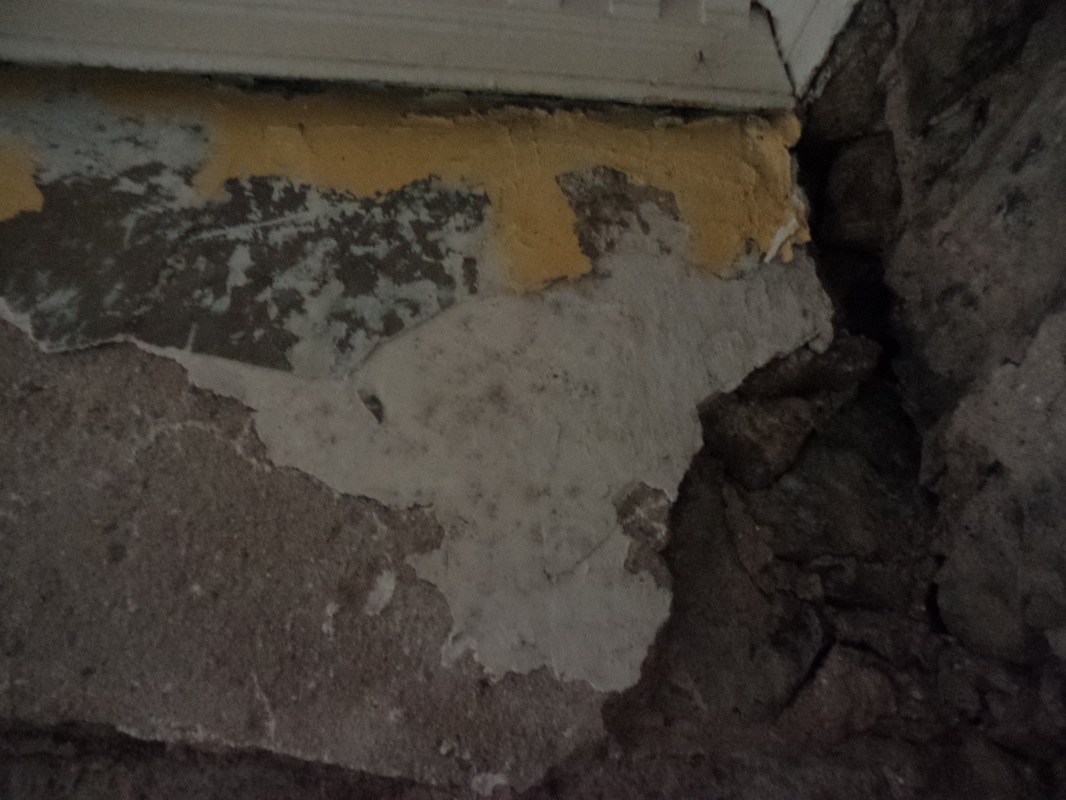
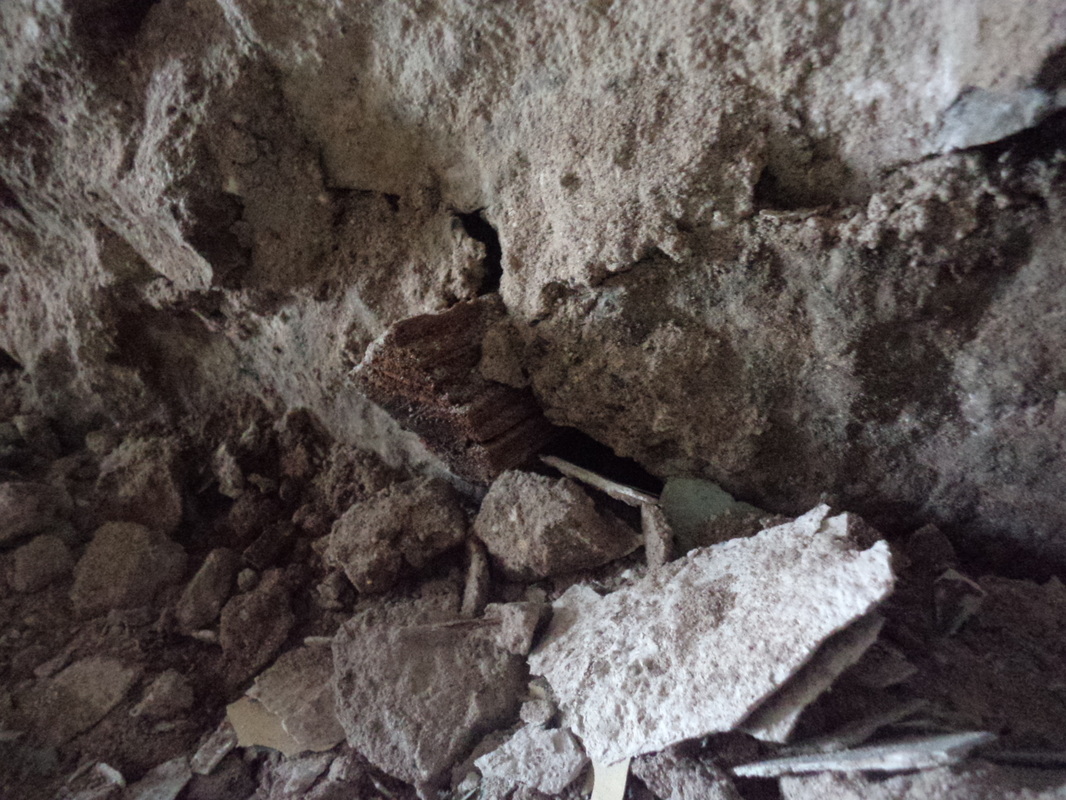
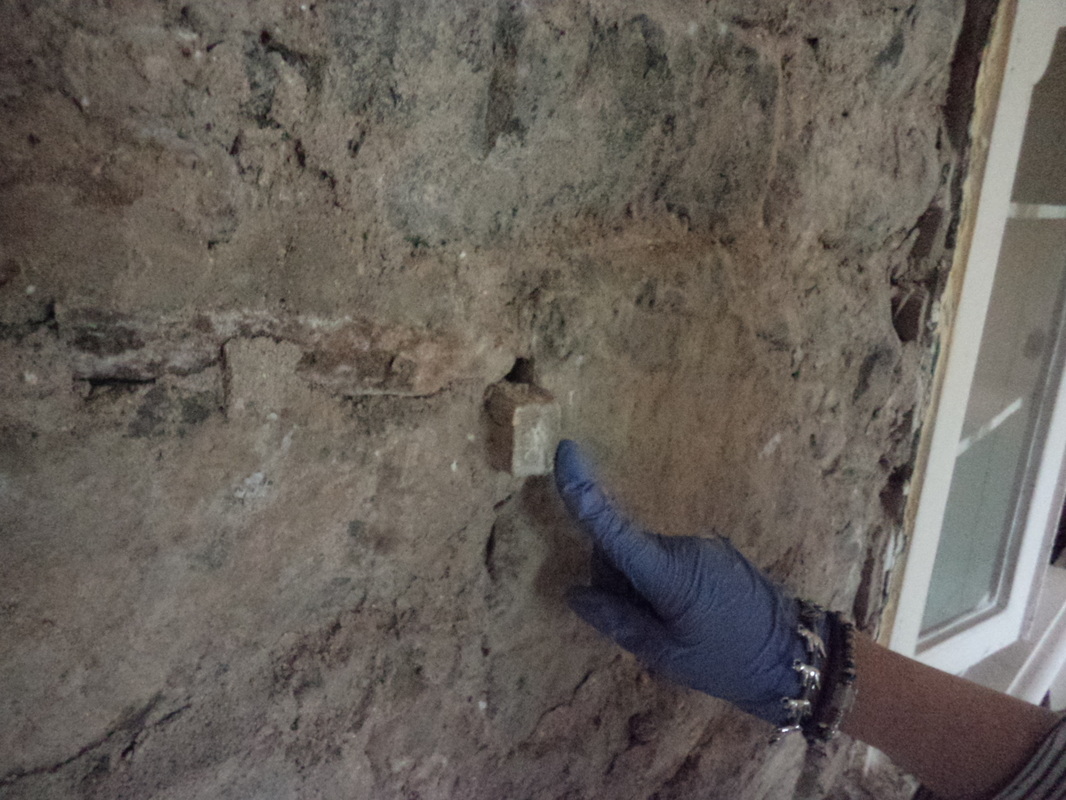
Fig.2 The upstairs window lintel, there was concrete blocks resting on a small steel bar in front of the old timber lintel, which is badly rotted. When I have the roof off I'll tackle the rest of it, the whole section above the window will probably need to be rebuilt.
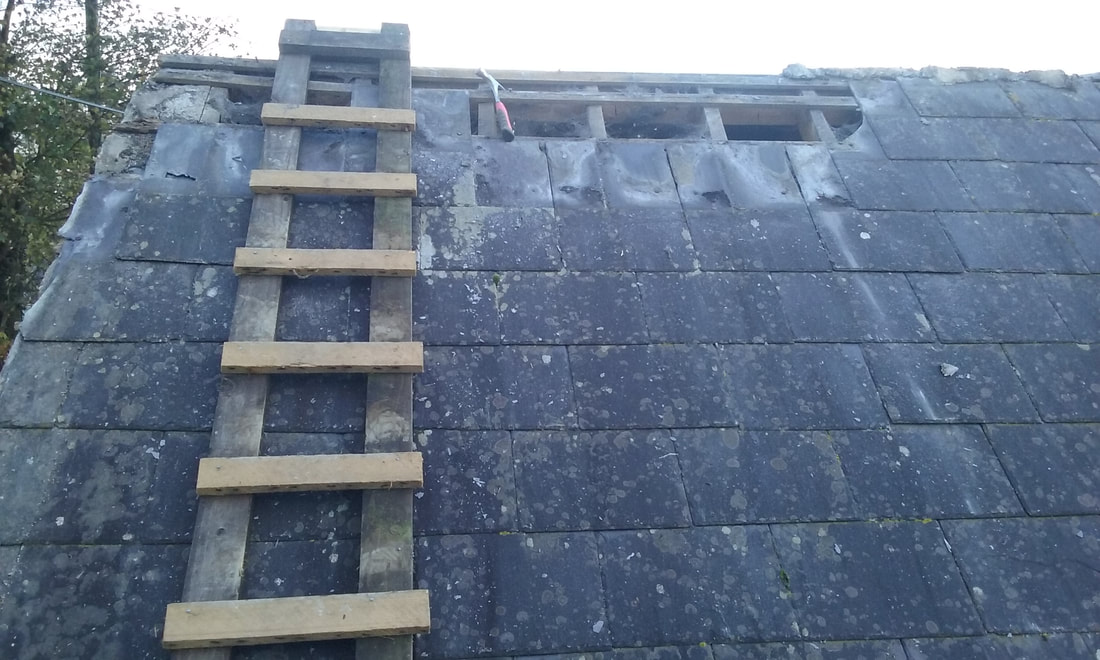
Fig.3 Starting to remove the slates. I just used the hammer and pushed/squeezed the claws under the nail heads to loosen them. It usually worked but there will always be some casualties and some slates were very weathered with elongated nail holes.
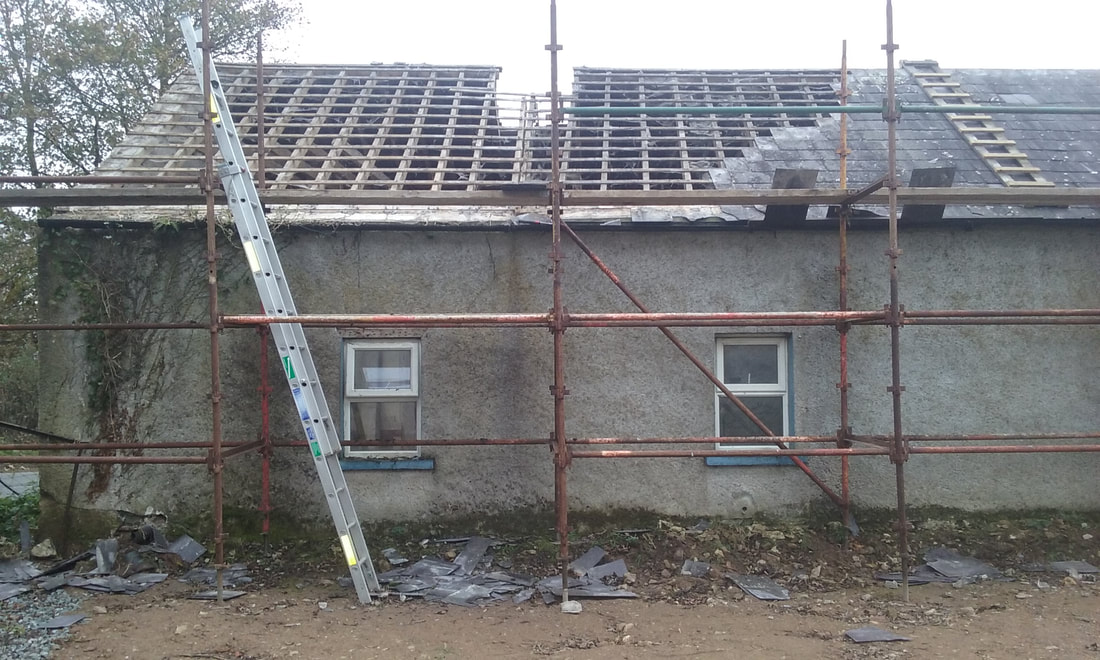
Fig.4 After a days work. Turns out the roof had been built in two stages. You can see the roof timbers to the right of the chimney opening were darker than to the left. The left handside is newer and the nails were harder to get out. Also I didn't need the hammer for much of the older part of the roof as the nails were mostly rusted to nothing! I don't know how Storm Ophelia didn't do a job for me. It did speed things up a bit but it also meant that there was more damaged slates.
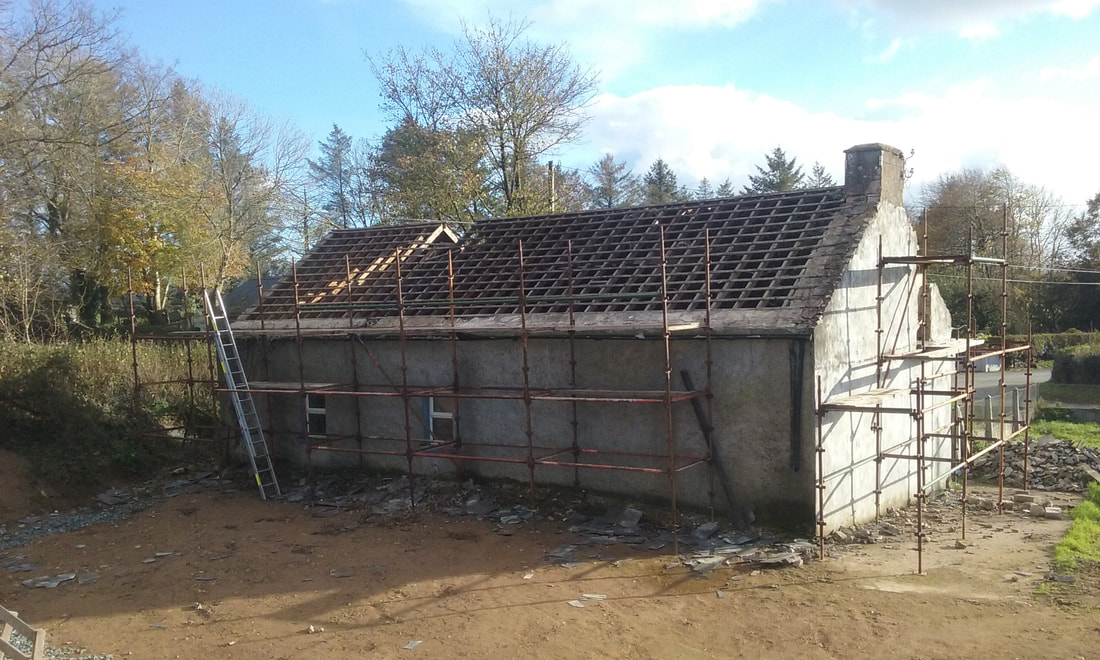
Fig.5 The back with all the slates removed.
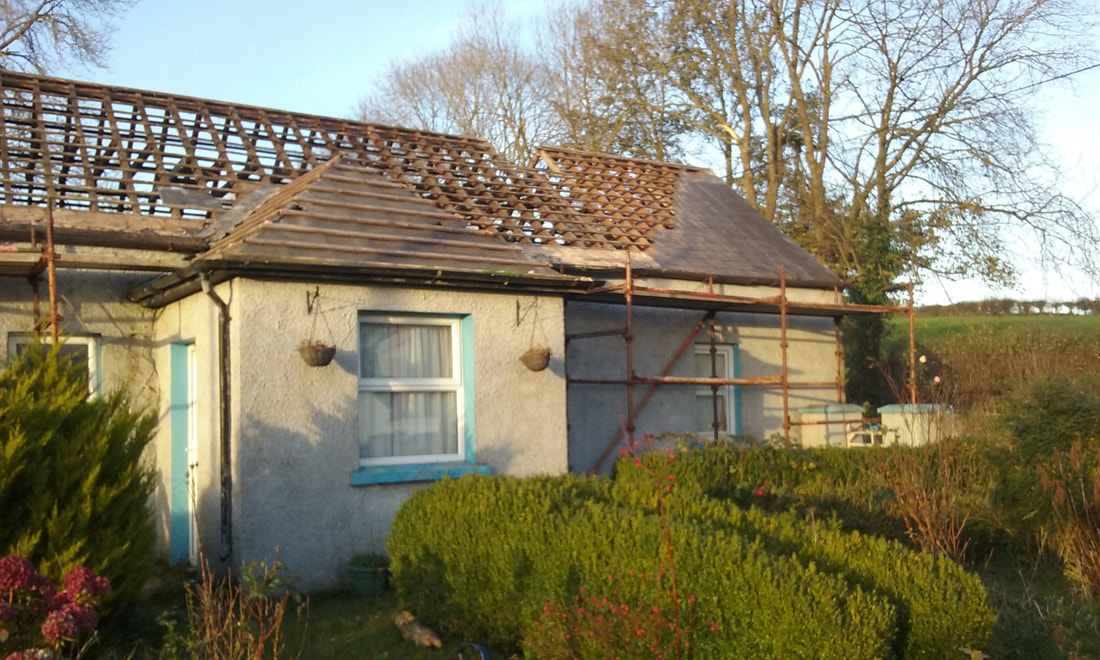
Fig.6 The front with most of the slate removed. Just a couple of hours work left! It took me about 5 days to remove all the slates, approx 1000 slates. I was on my own so with another person to help it would be easily half that time.
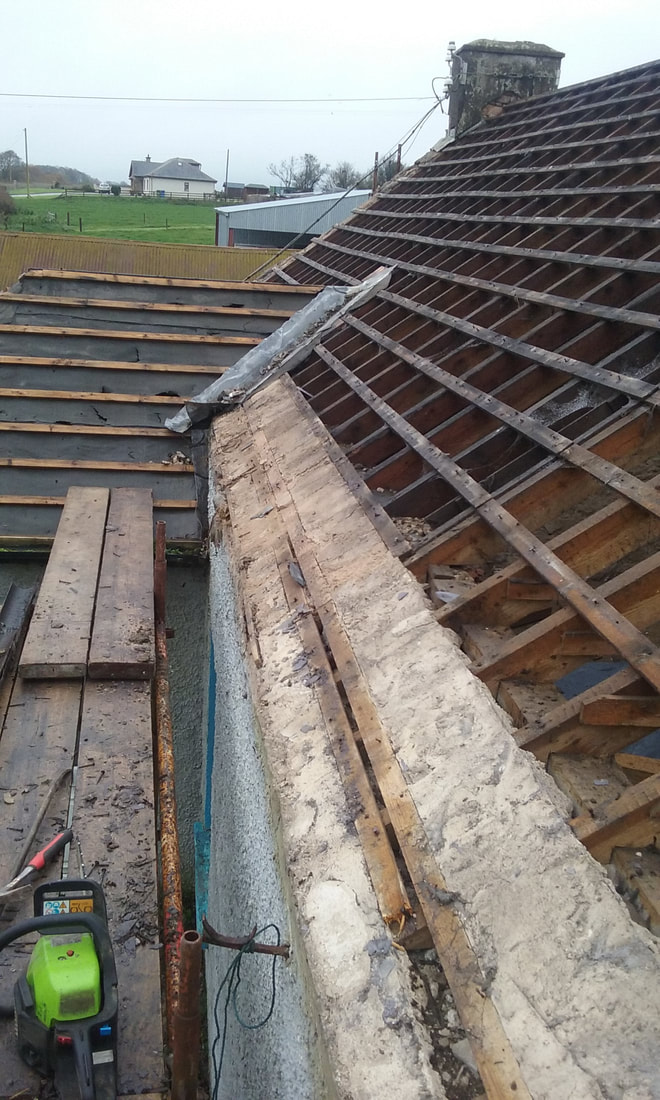
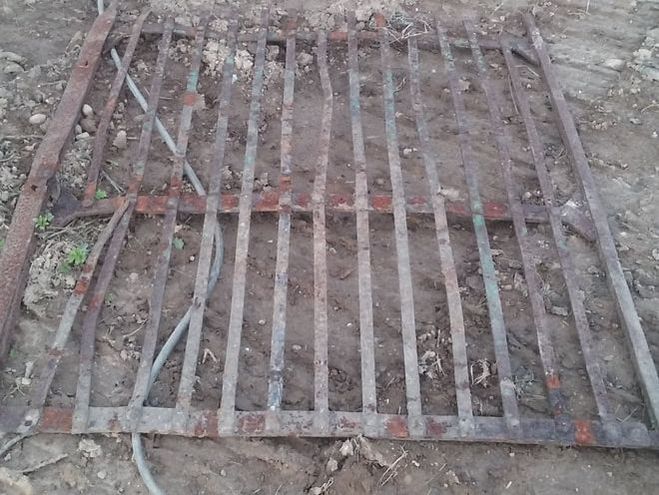
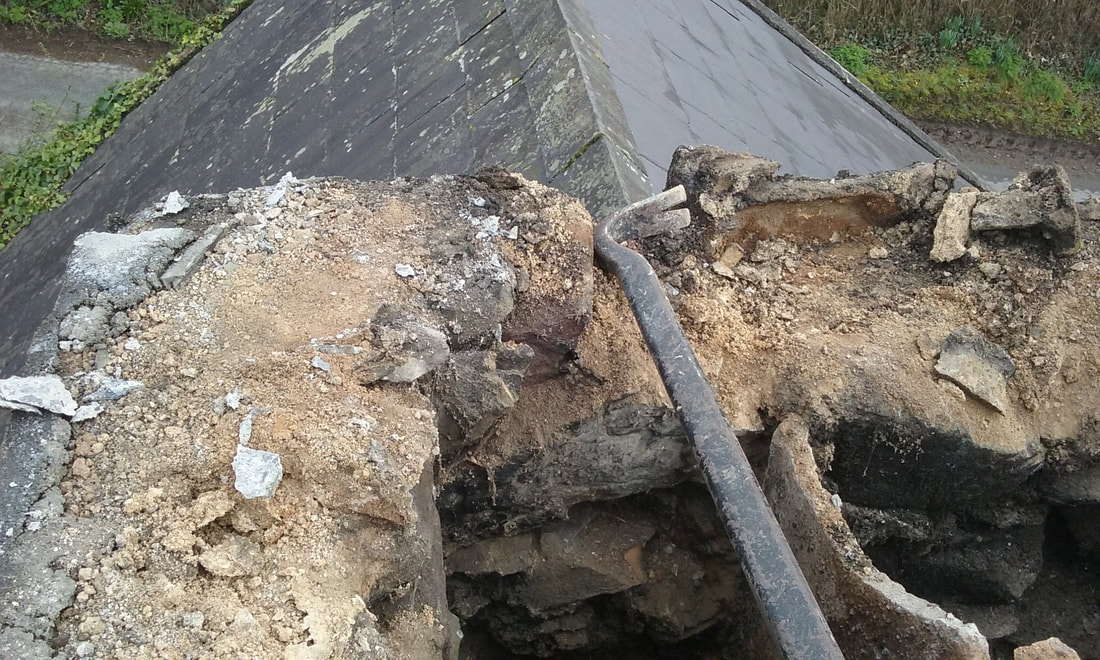
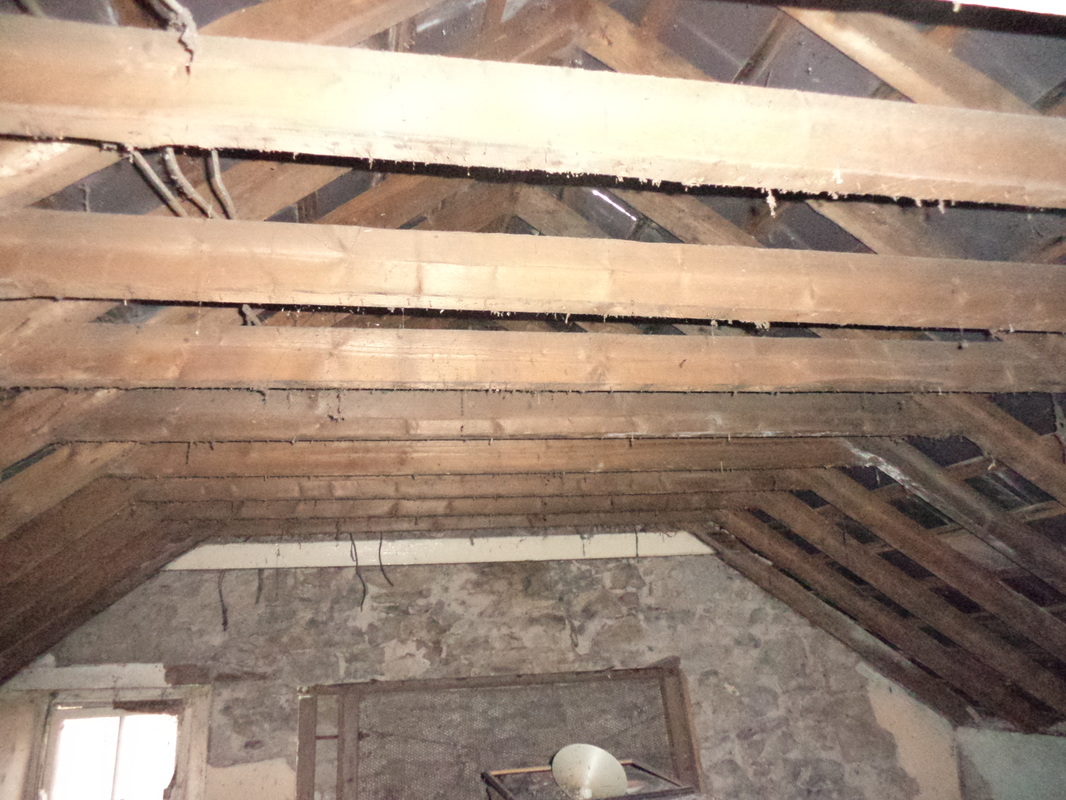
Fig.7 The roof structure ready to come off. You can see the lime mortar was filled between the rafter ends, this would have helped seal the roof and walls together. The rafter ends were actually well preserved, the lime mortar draws water out of the timber where as cement mortar would have trapped it in and cause the timber to rot faster.
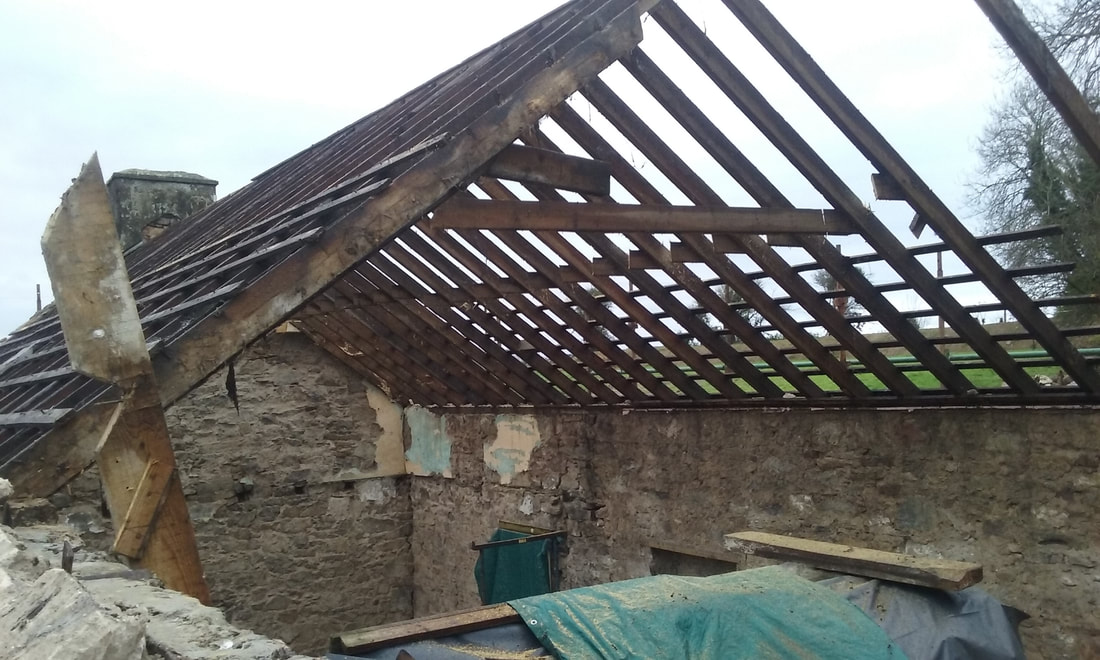
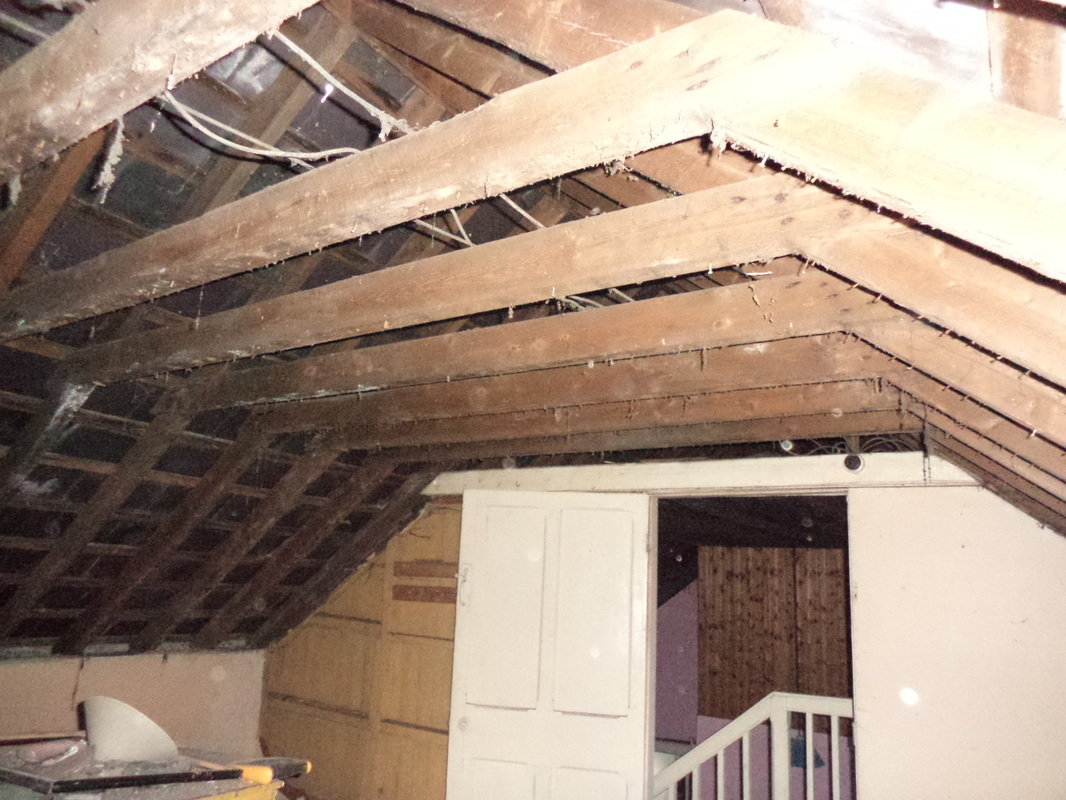
Fig.8 I first removed the collar ties(the horizontal timbers halfway up the rafters) they had to be sawn off as they were nailed into the rafters with too many nails. The slating laths came off next, they popped right off. The rafters needed a bit of elbow grease with the big nail bar to prise them off the wall plate.
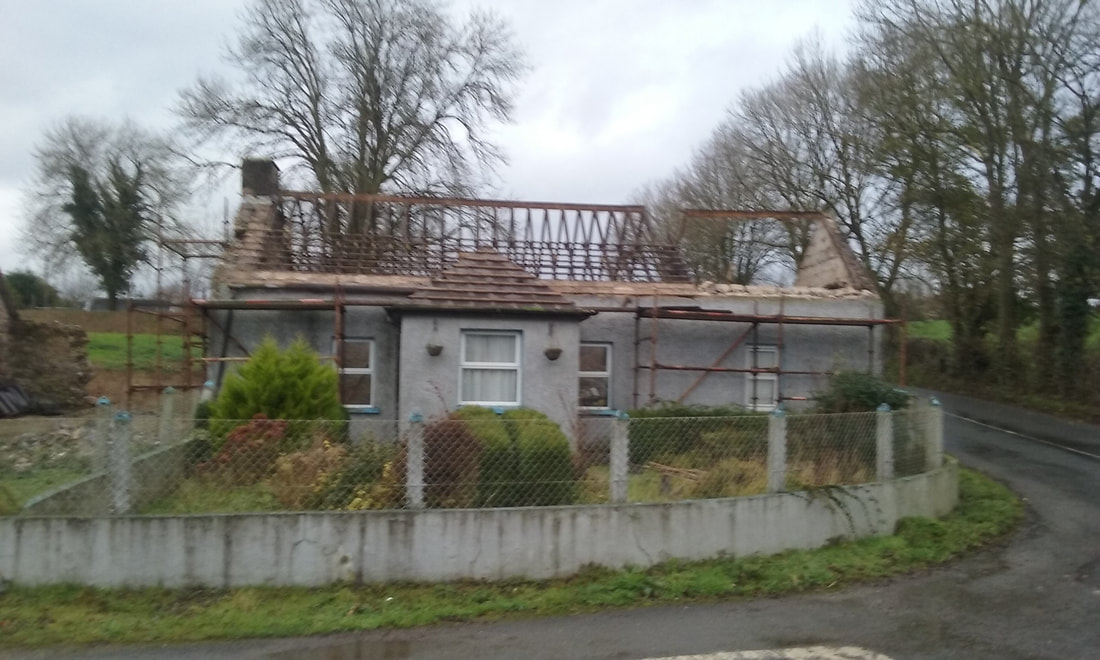
Fig.9 After one day of timber removal. I got the rest of it done the next day I visited. Most of the time was spent walking back and forth to the big shed with the timbers and tidying up. Lots of firewood and kindling in the future!
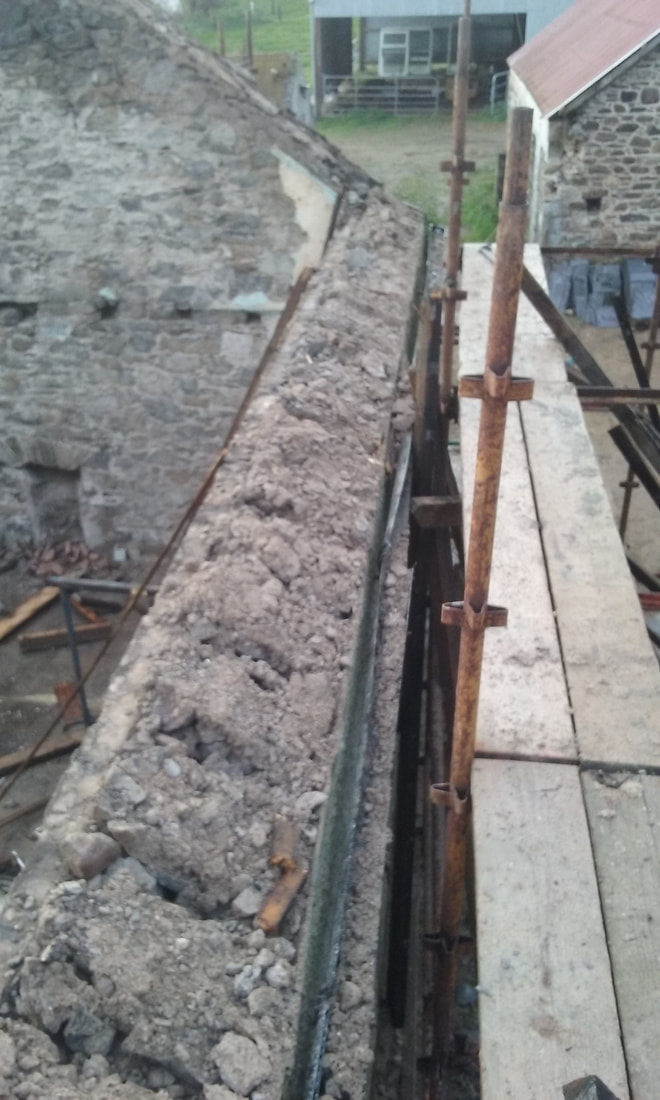
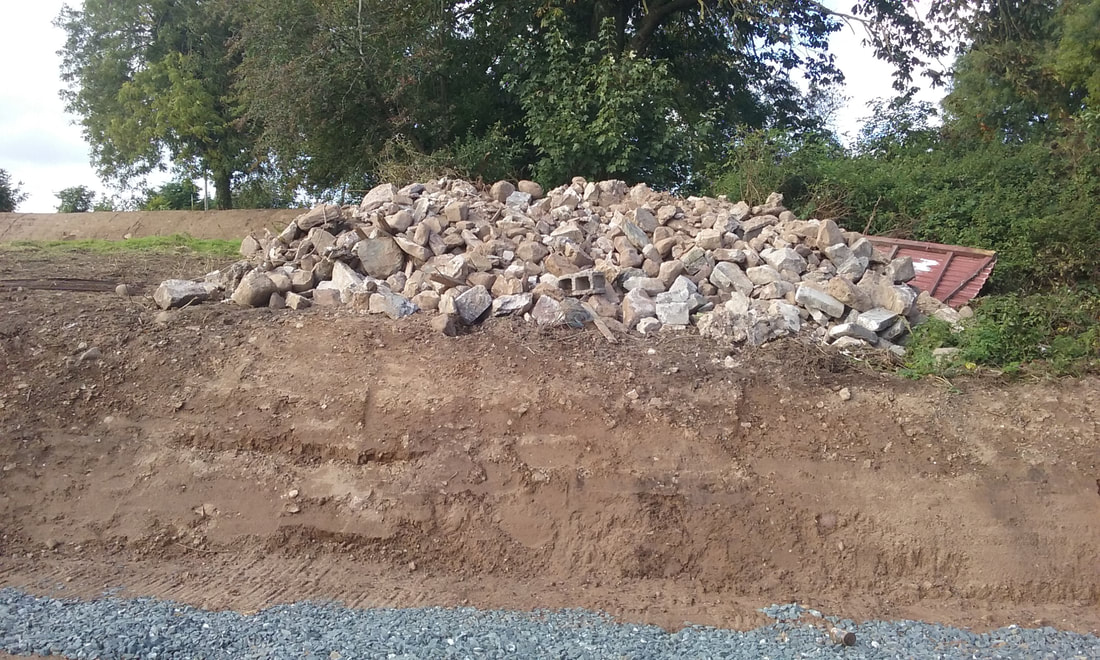
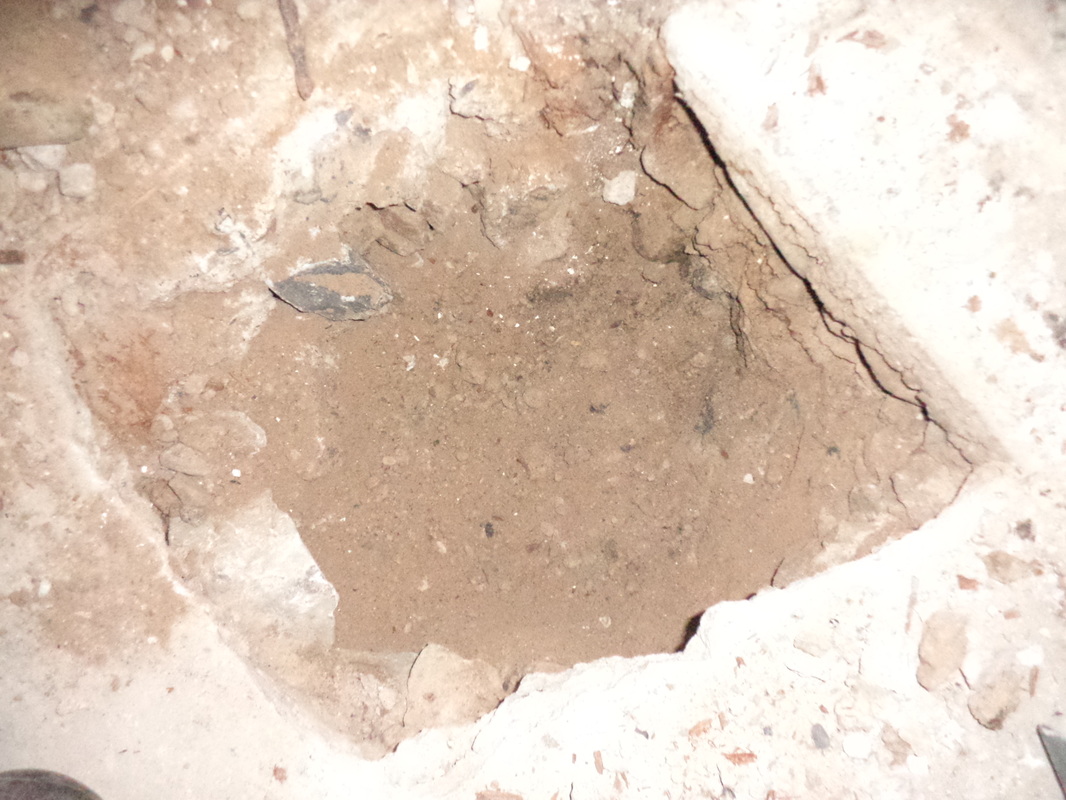
Fig.10 With all the timber removed. The timber wallplate wasn't nailed or fastened to the top of the wall, it just rested on top with the mortar/stone mix against it. It's a fair old mess at this stage on top of the walls, lots of loose stones and mortar, when I have it cleared off it'll give me a better idea on what to do next. We'll probably put a concrete ring beam on top to give the new roof a better anchor and also level off the walls, as they will no doubt need it after its tidied up. We're not crazy about putting a concrete beam on it but as the walls have been constructed at different stages and from different materials it would be best to do it for structural reasons.
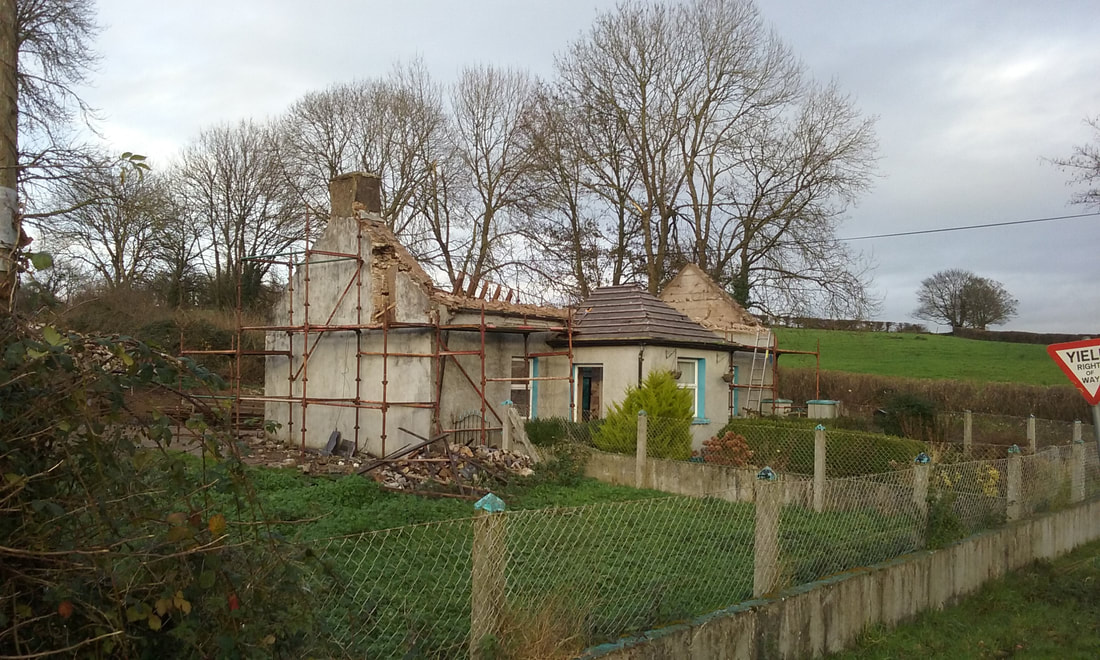
Fig.11 The cootage roofless, looking very naked. We left the most of the porch roof intact as its a more recent addition and the timbers are ok. It will be re-felted and slated with the new roof.


 RSS Feed
